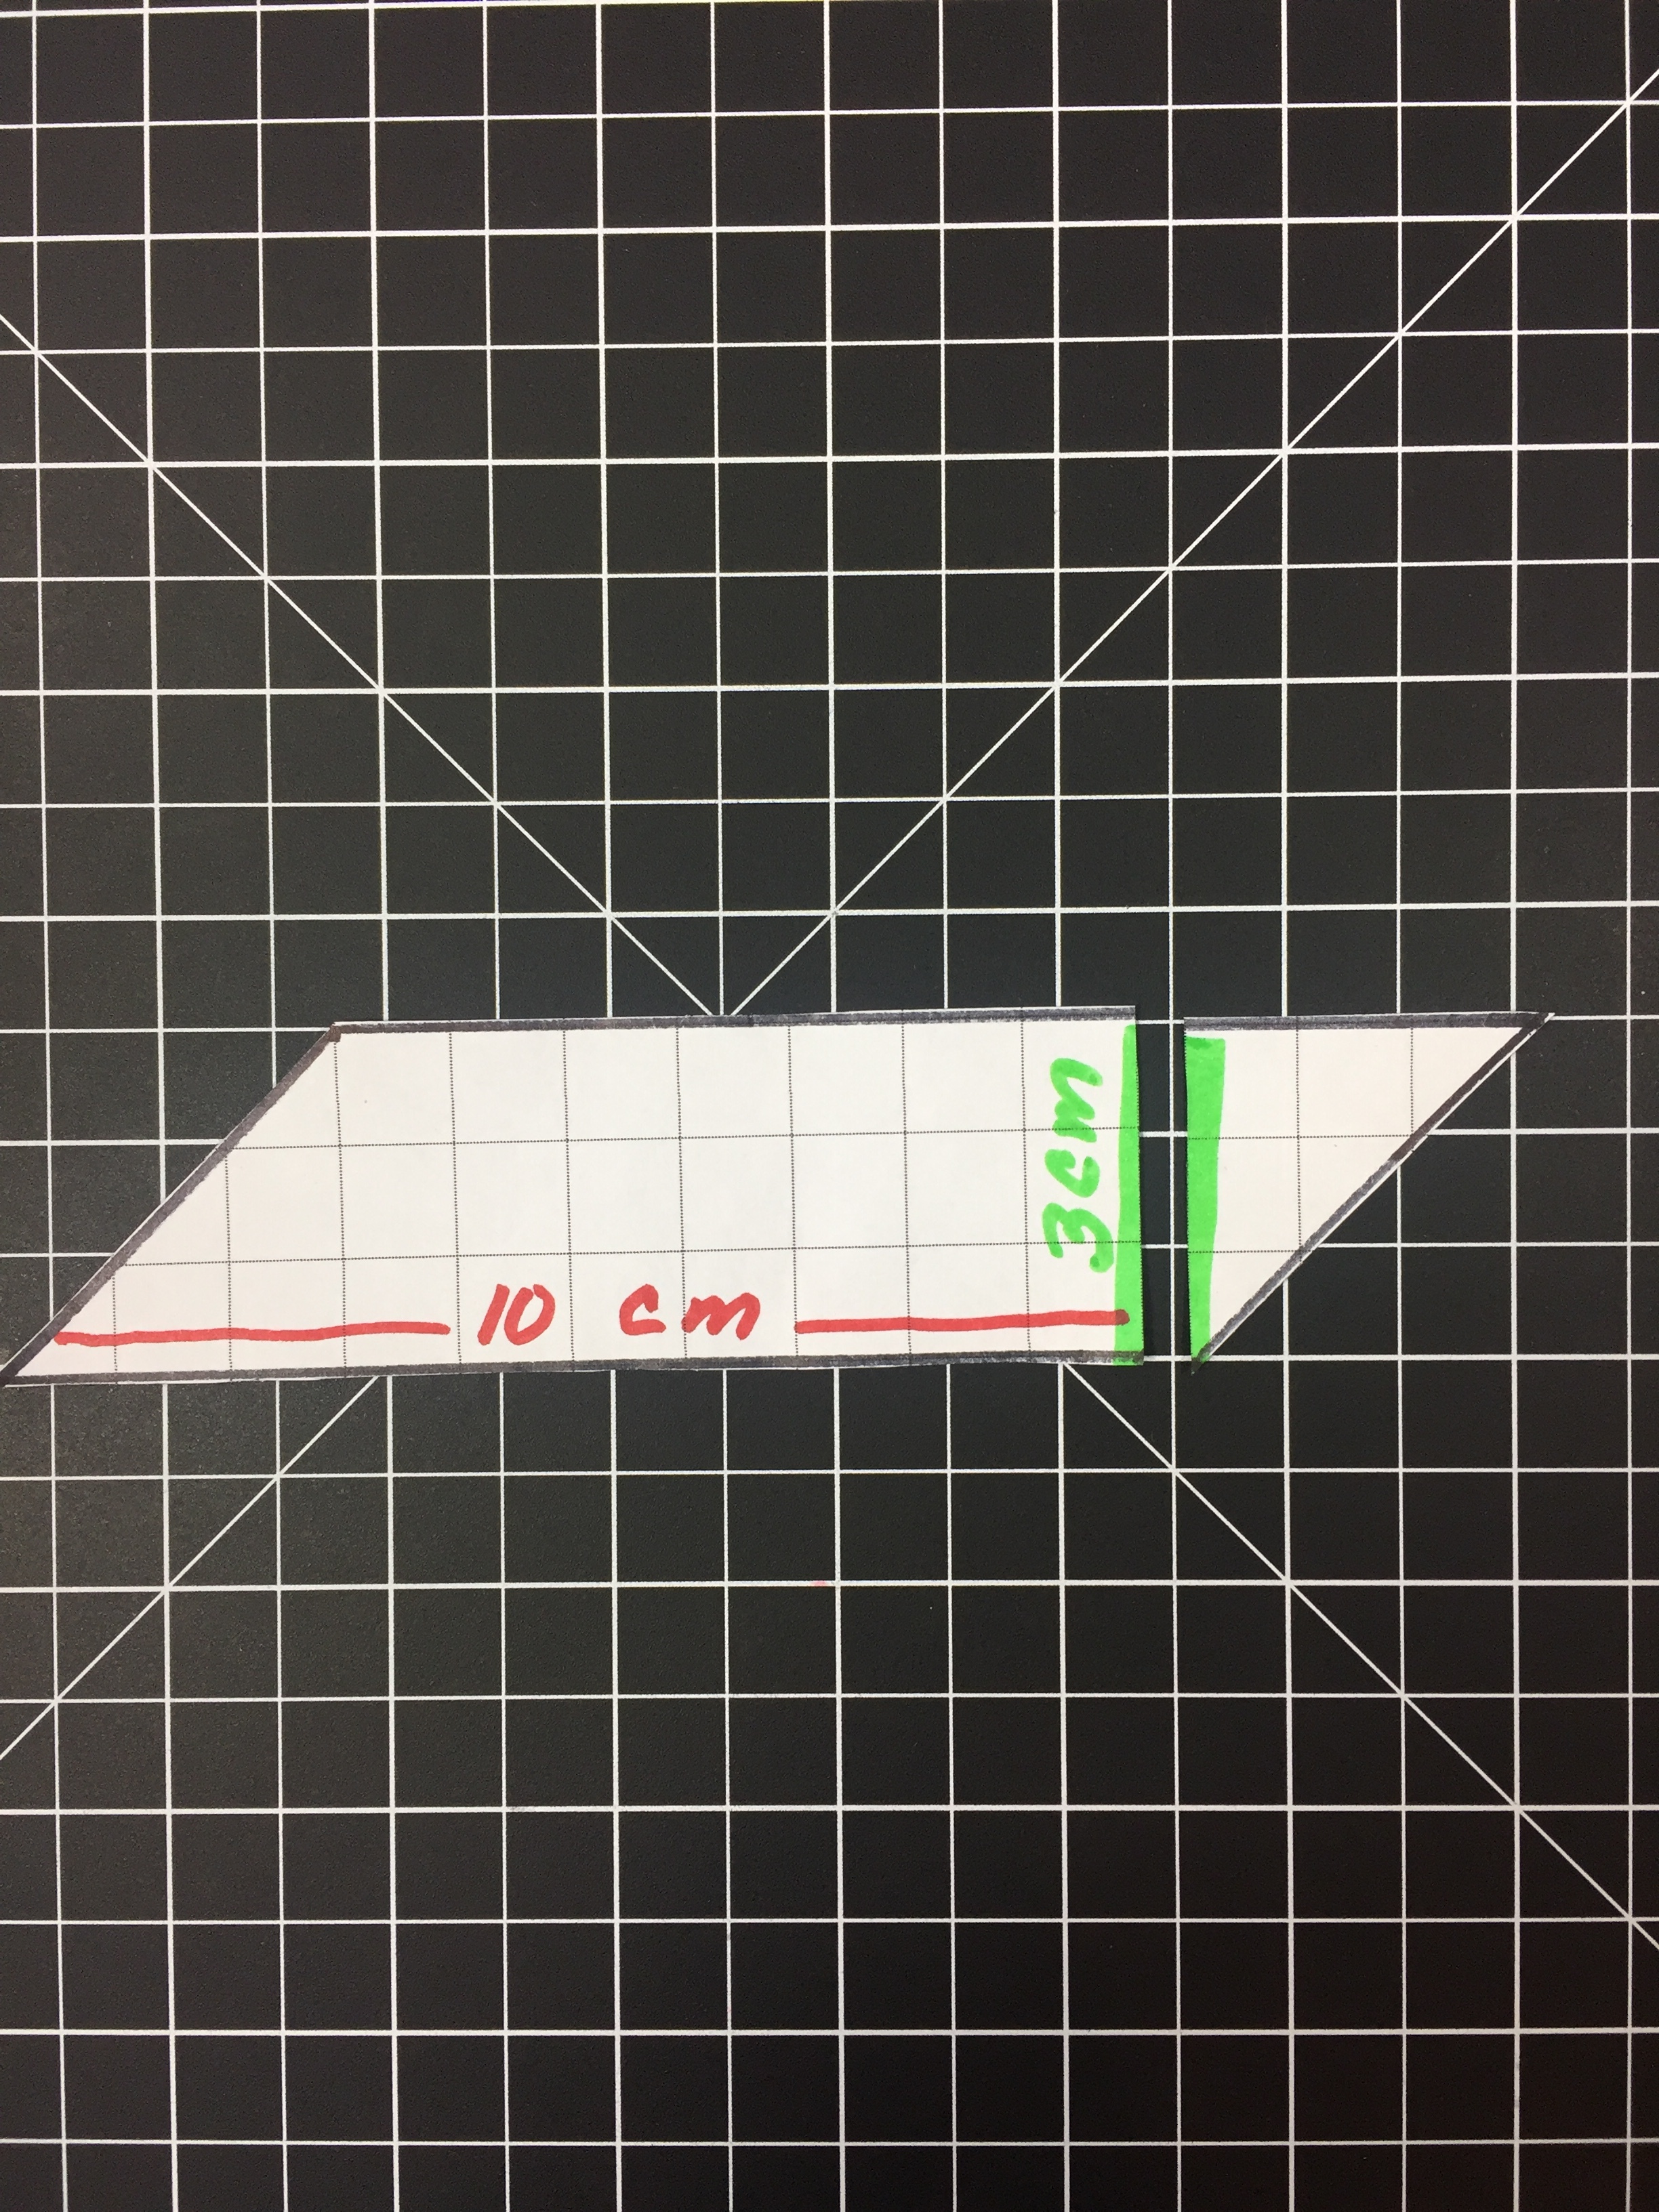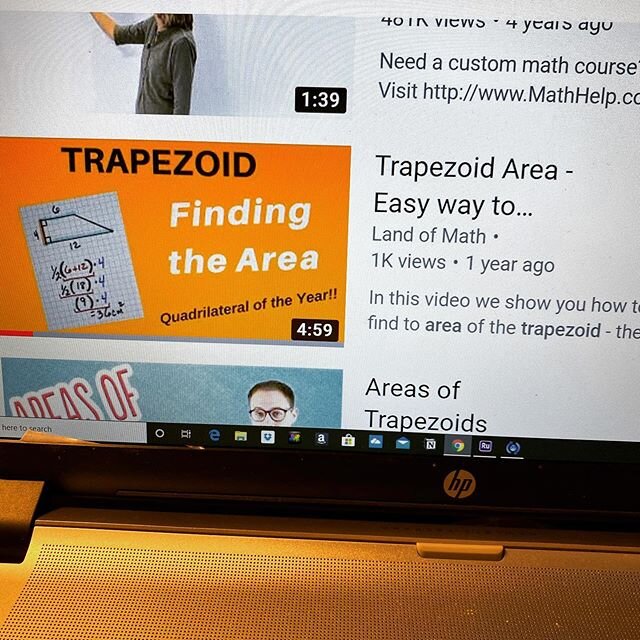
Area of Trapezoids made easy.
/
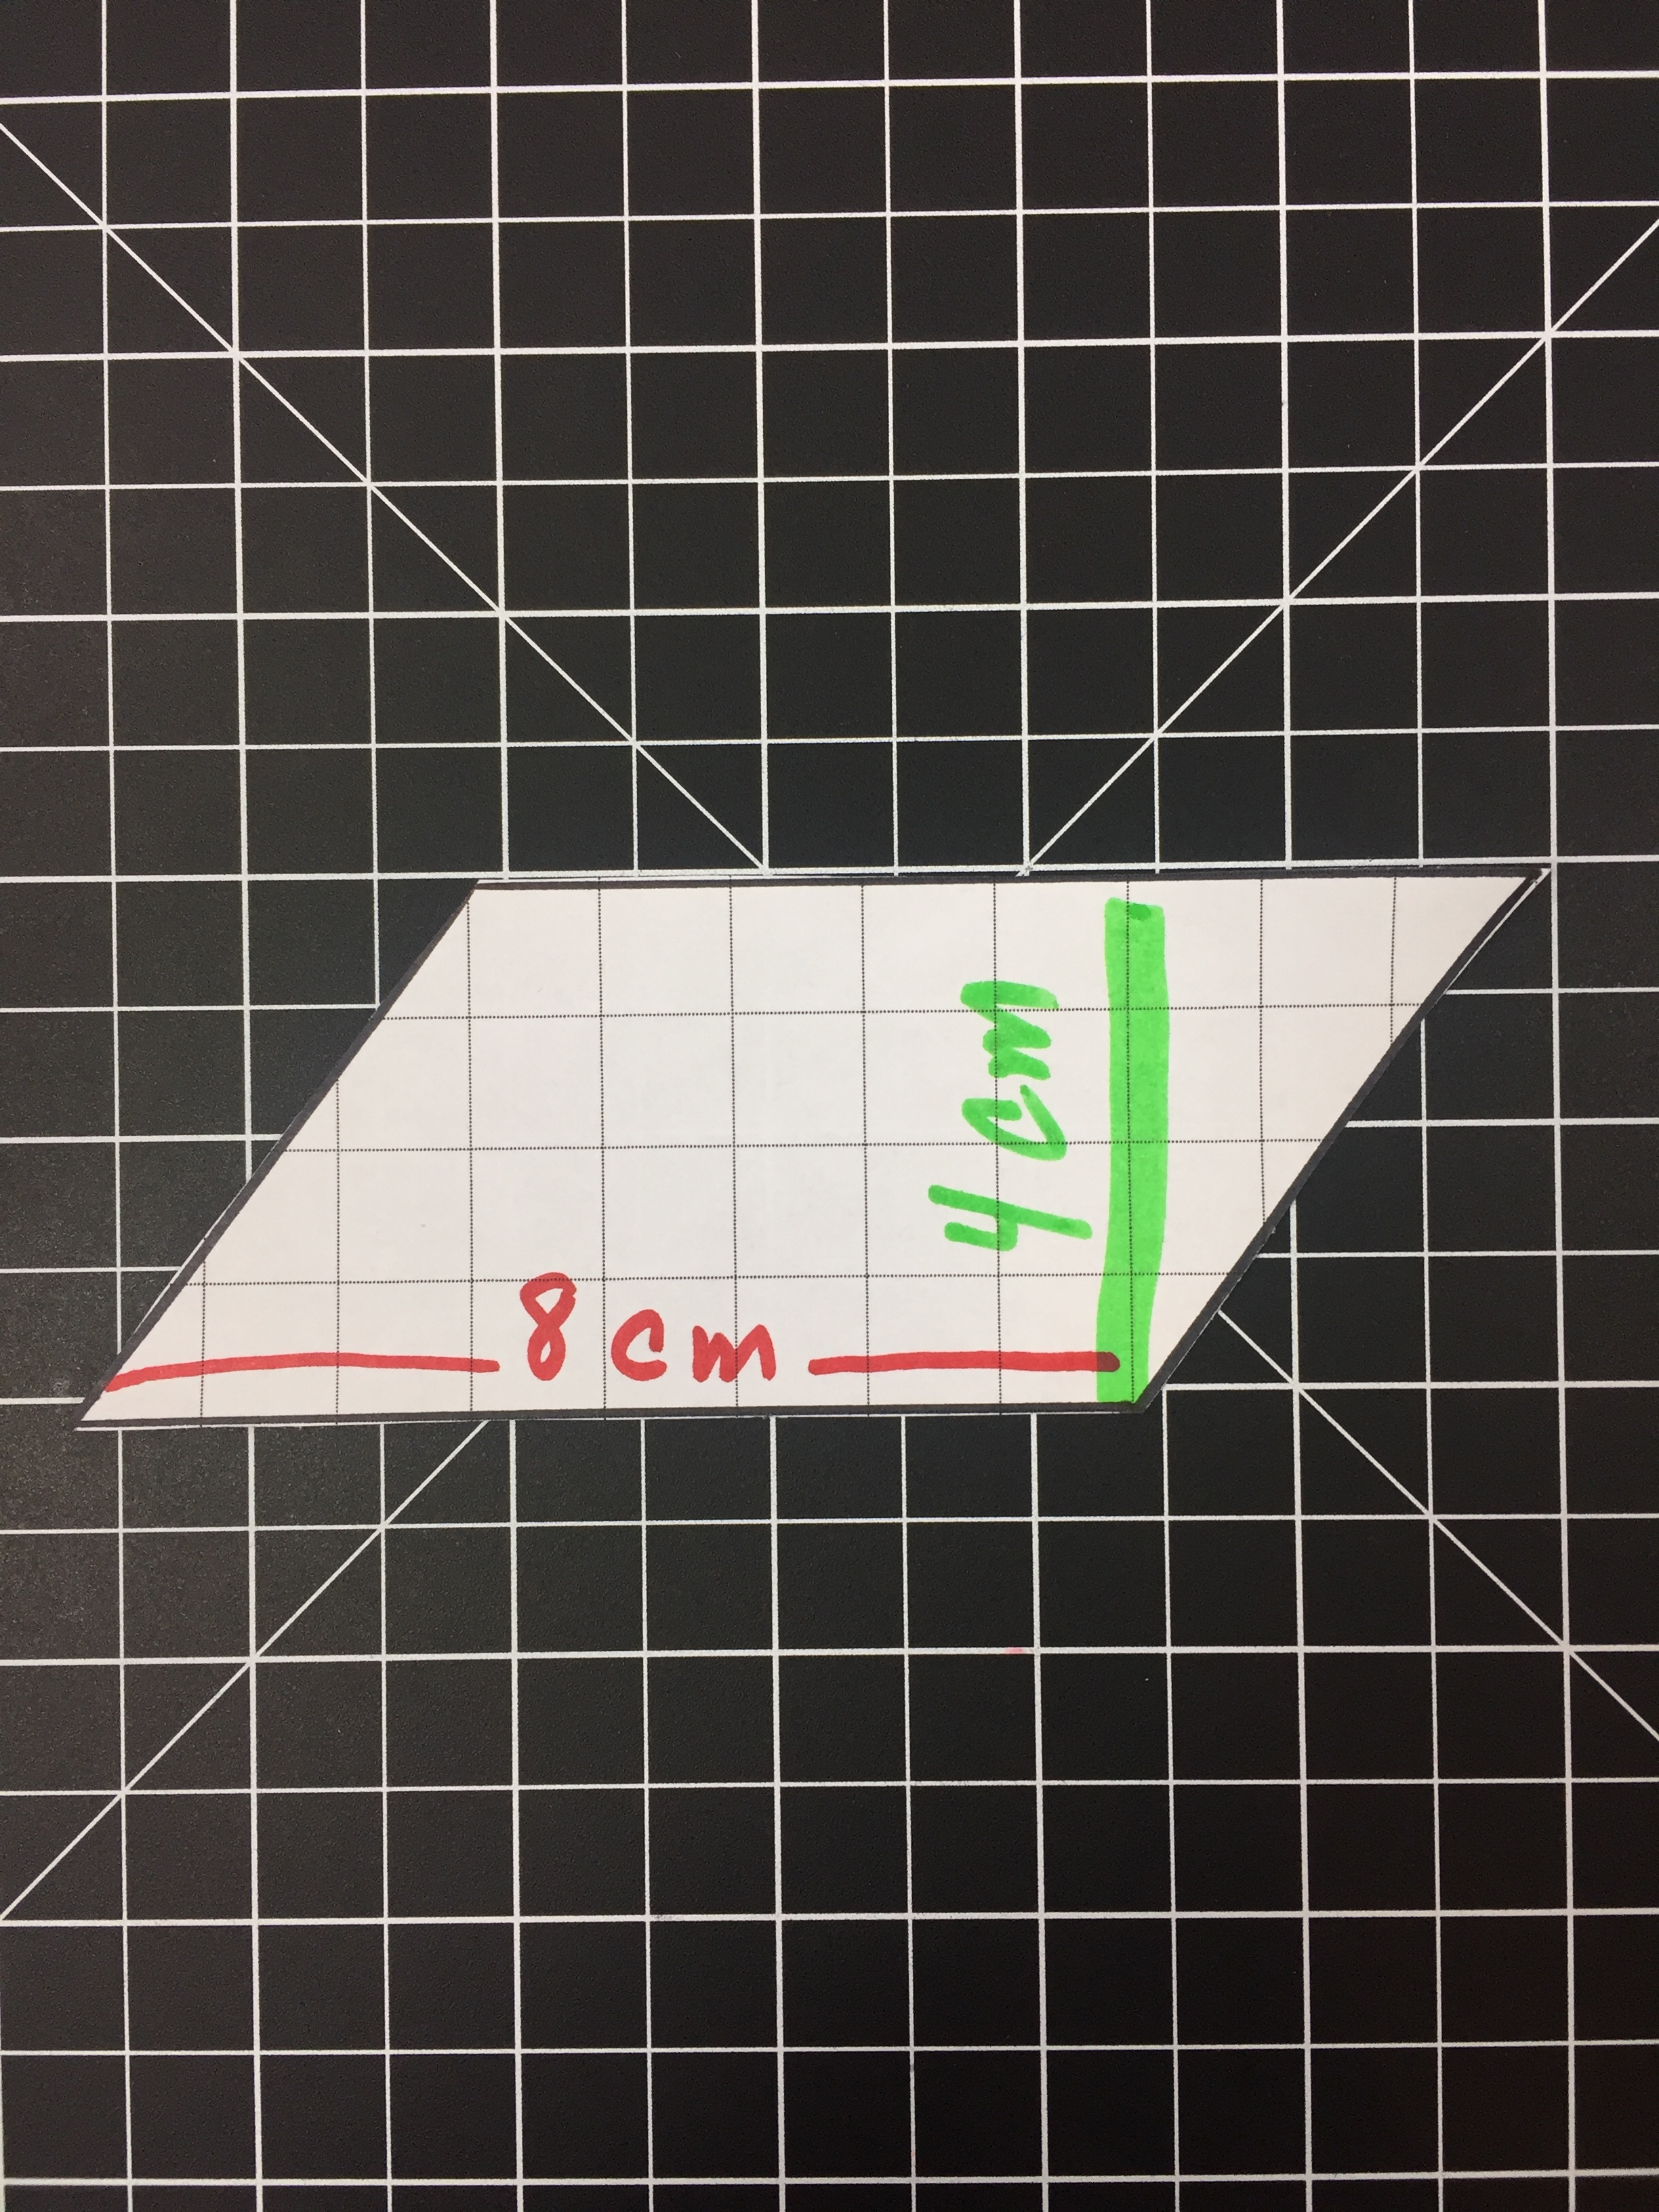
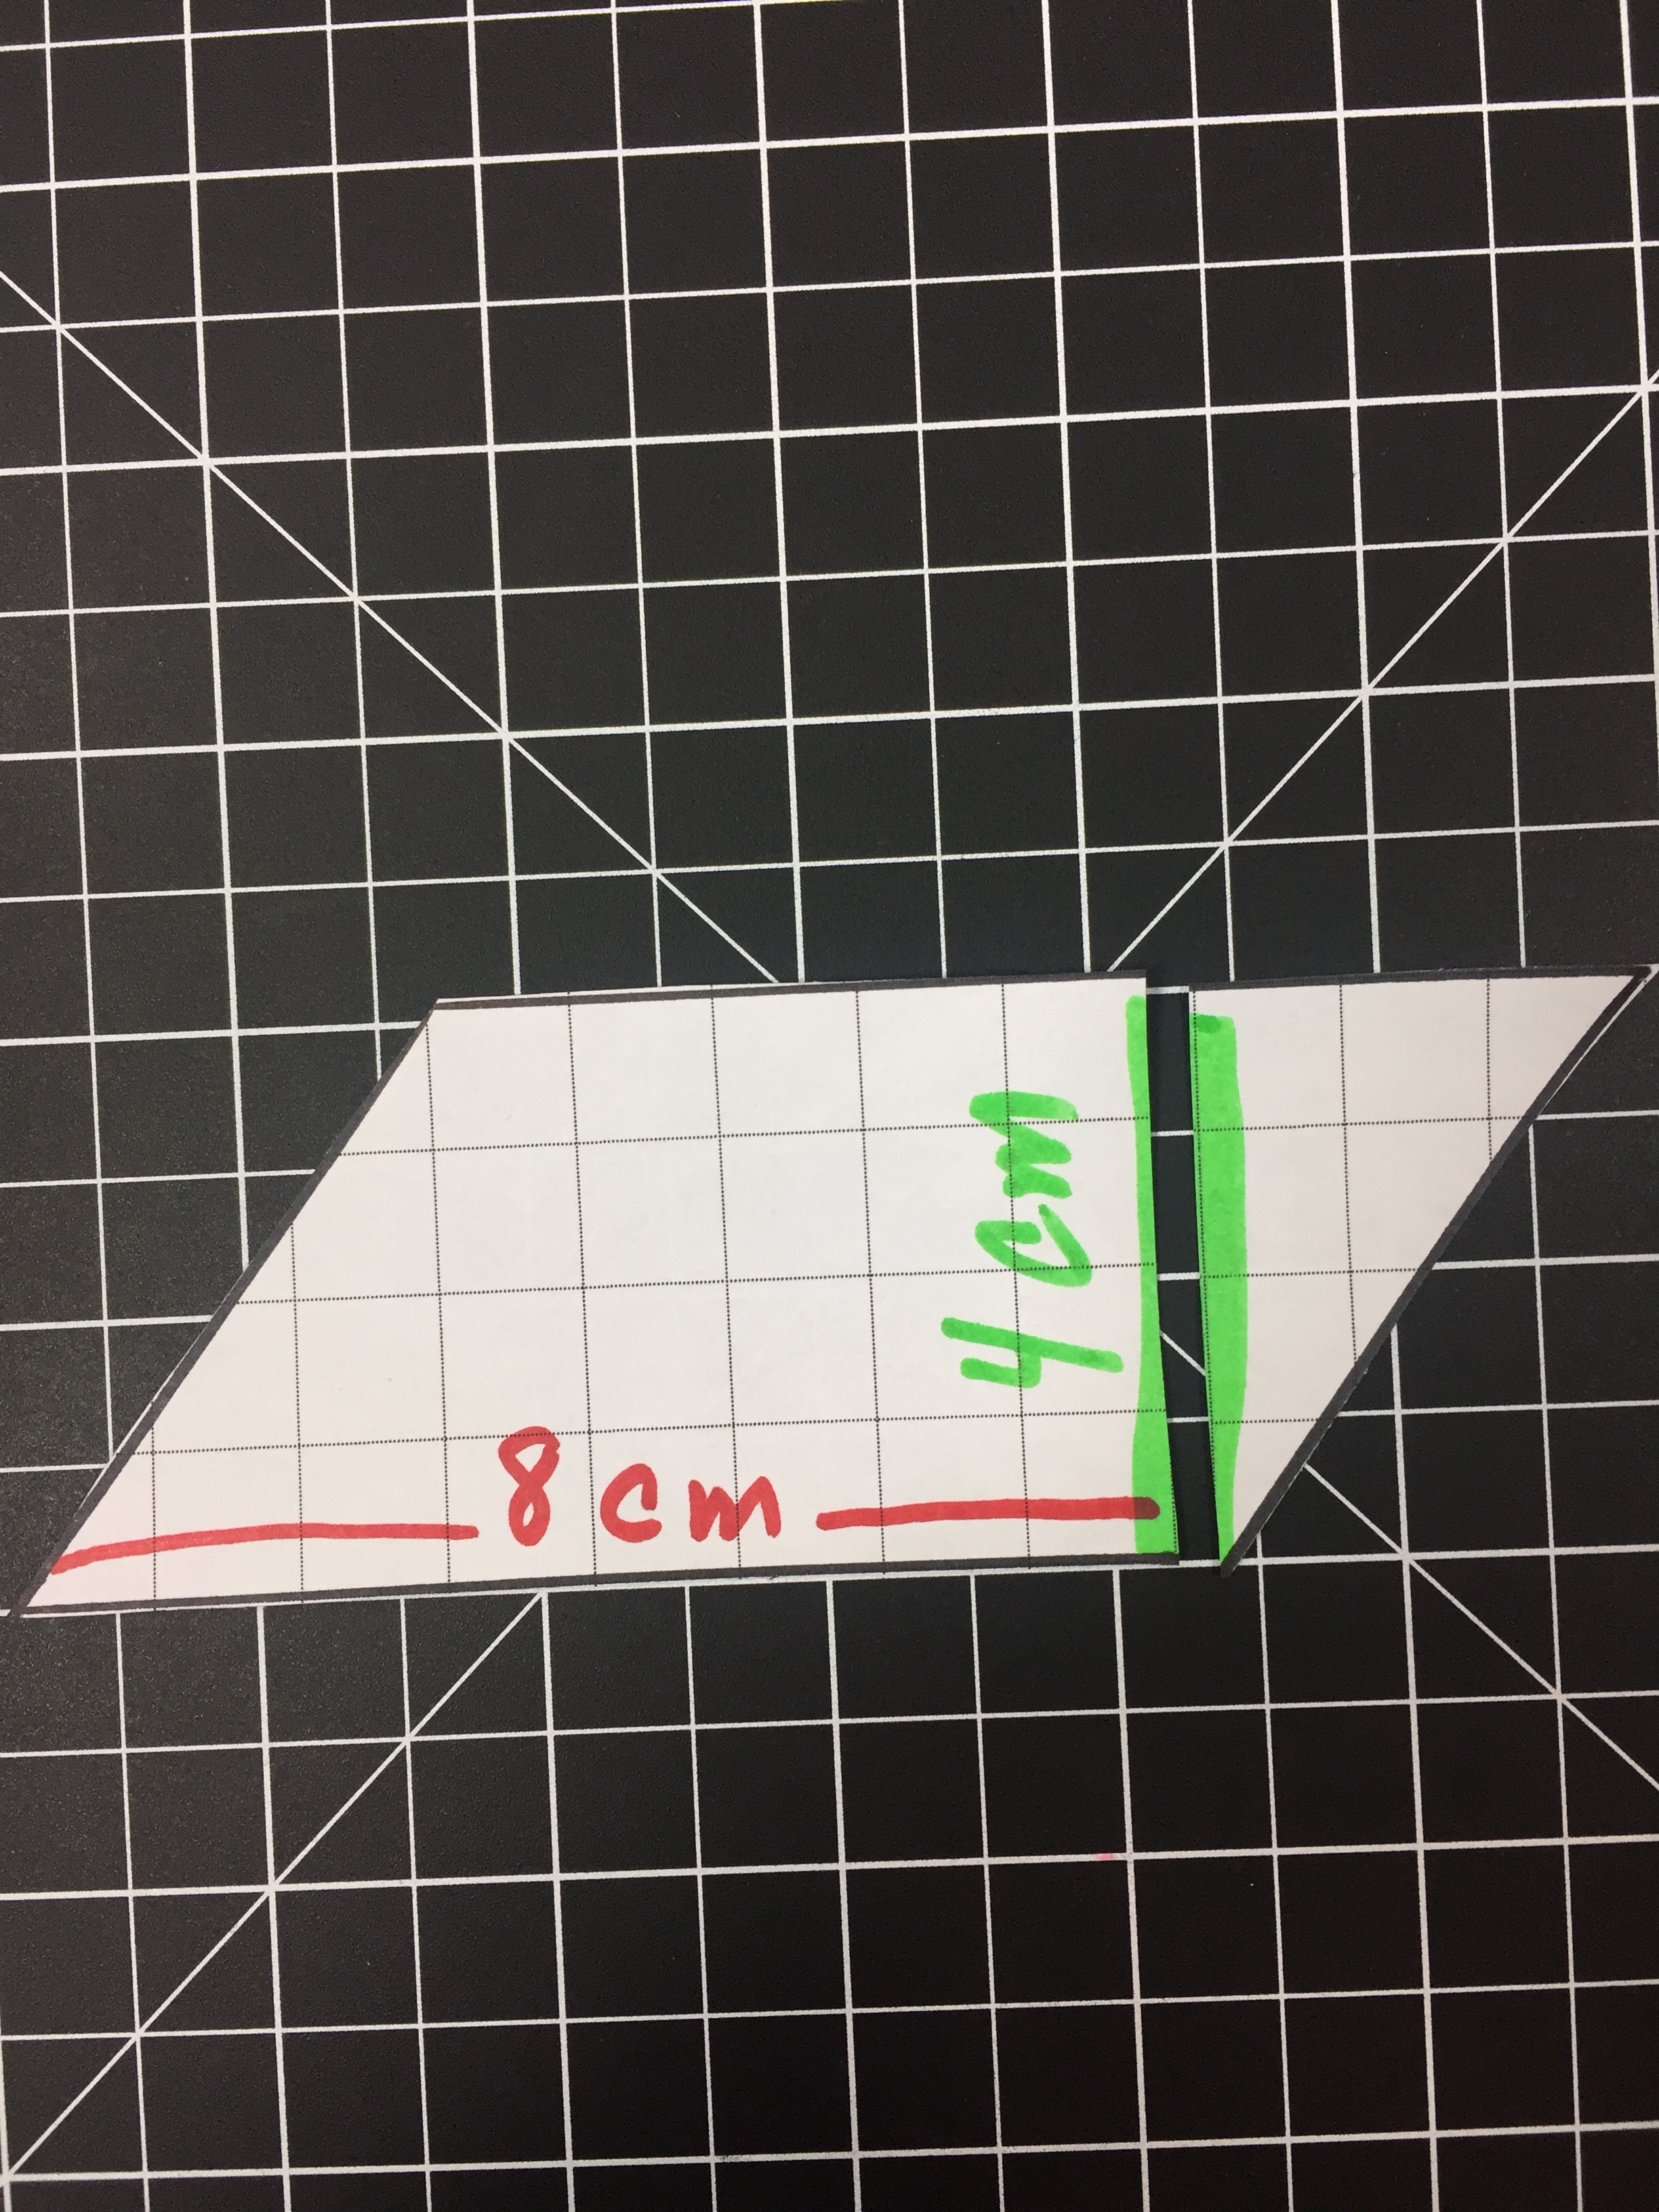
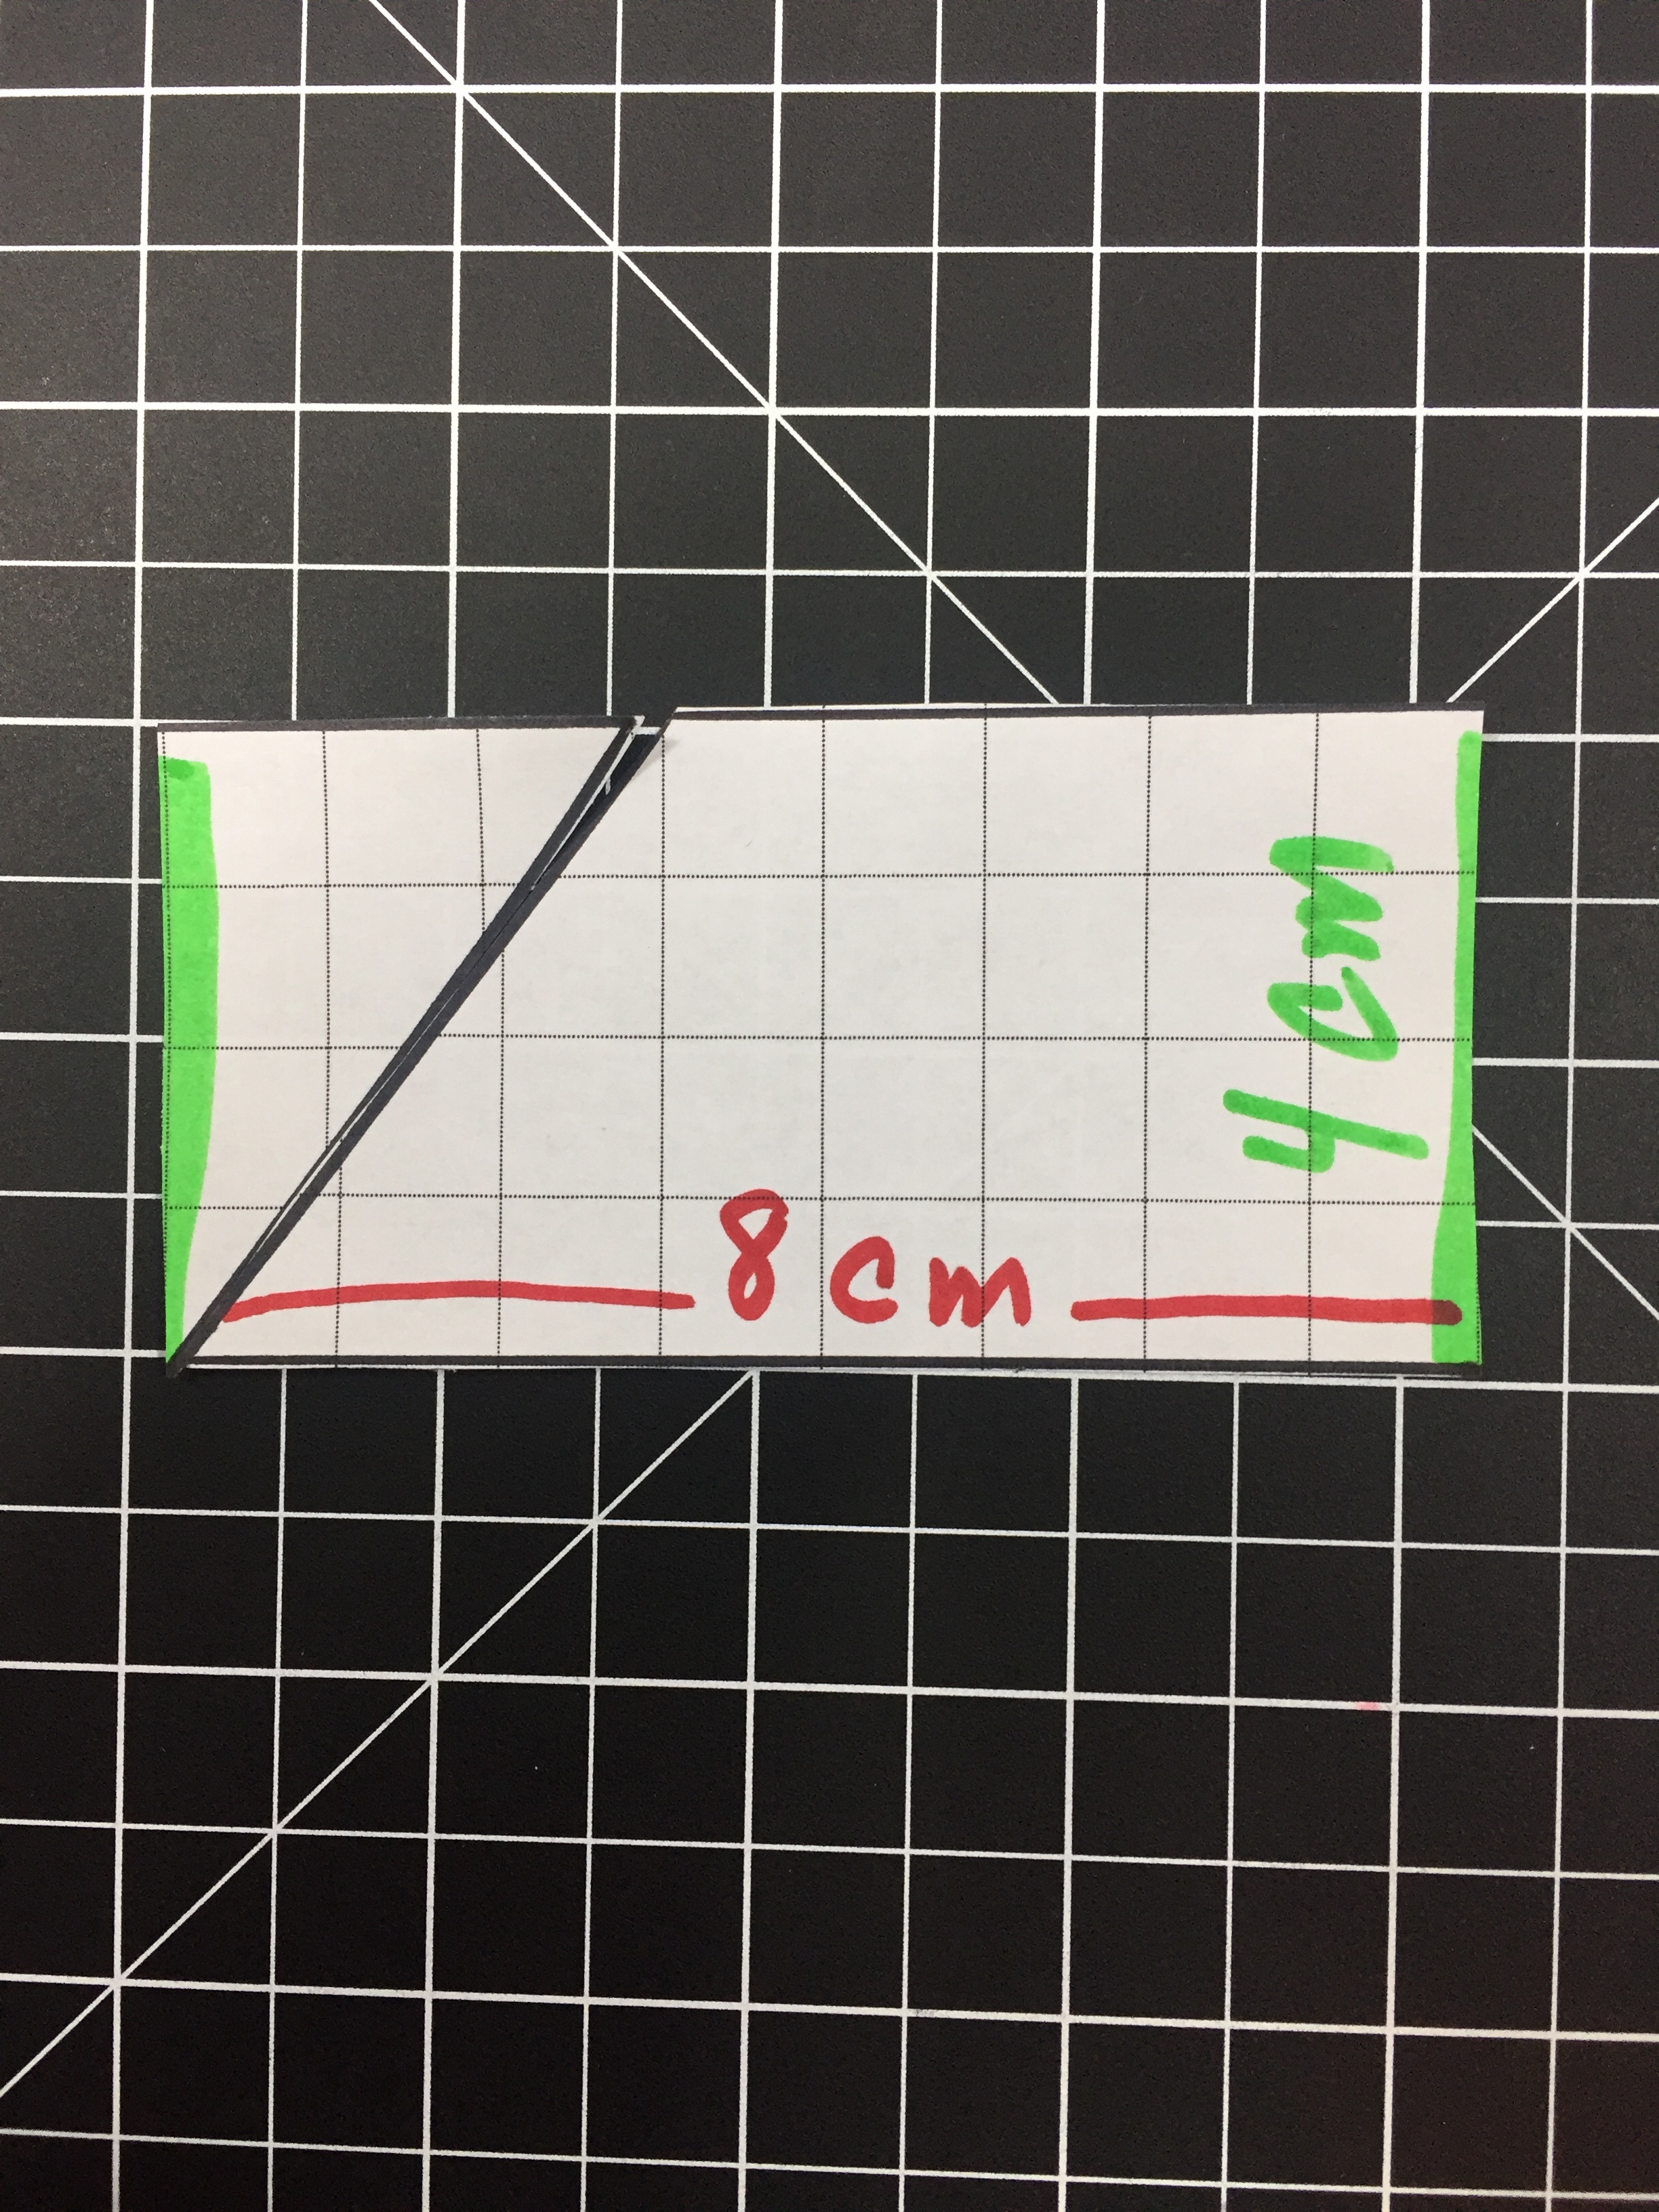
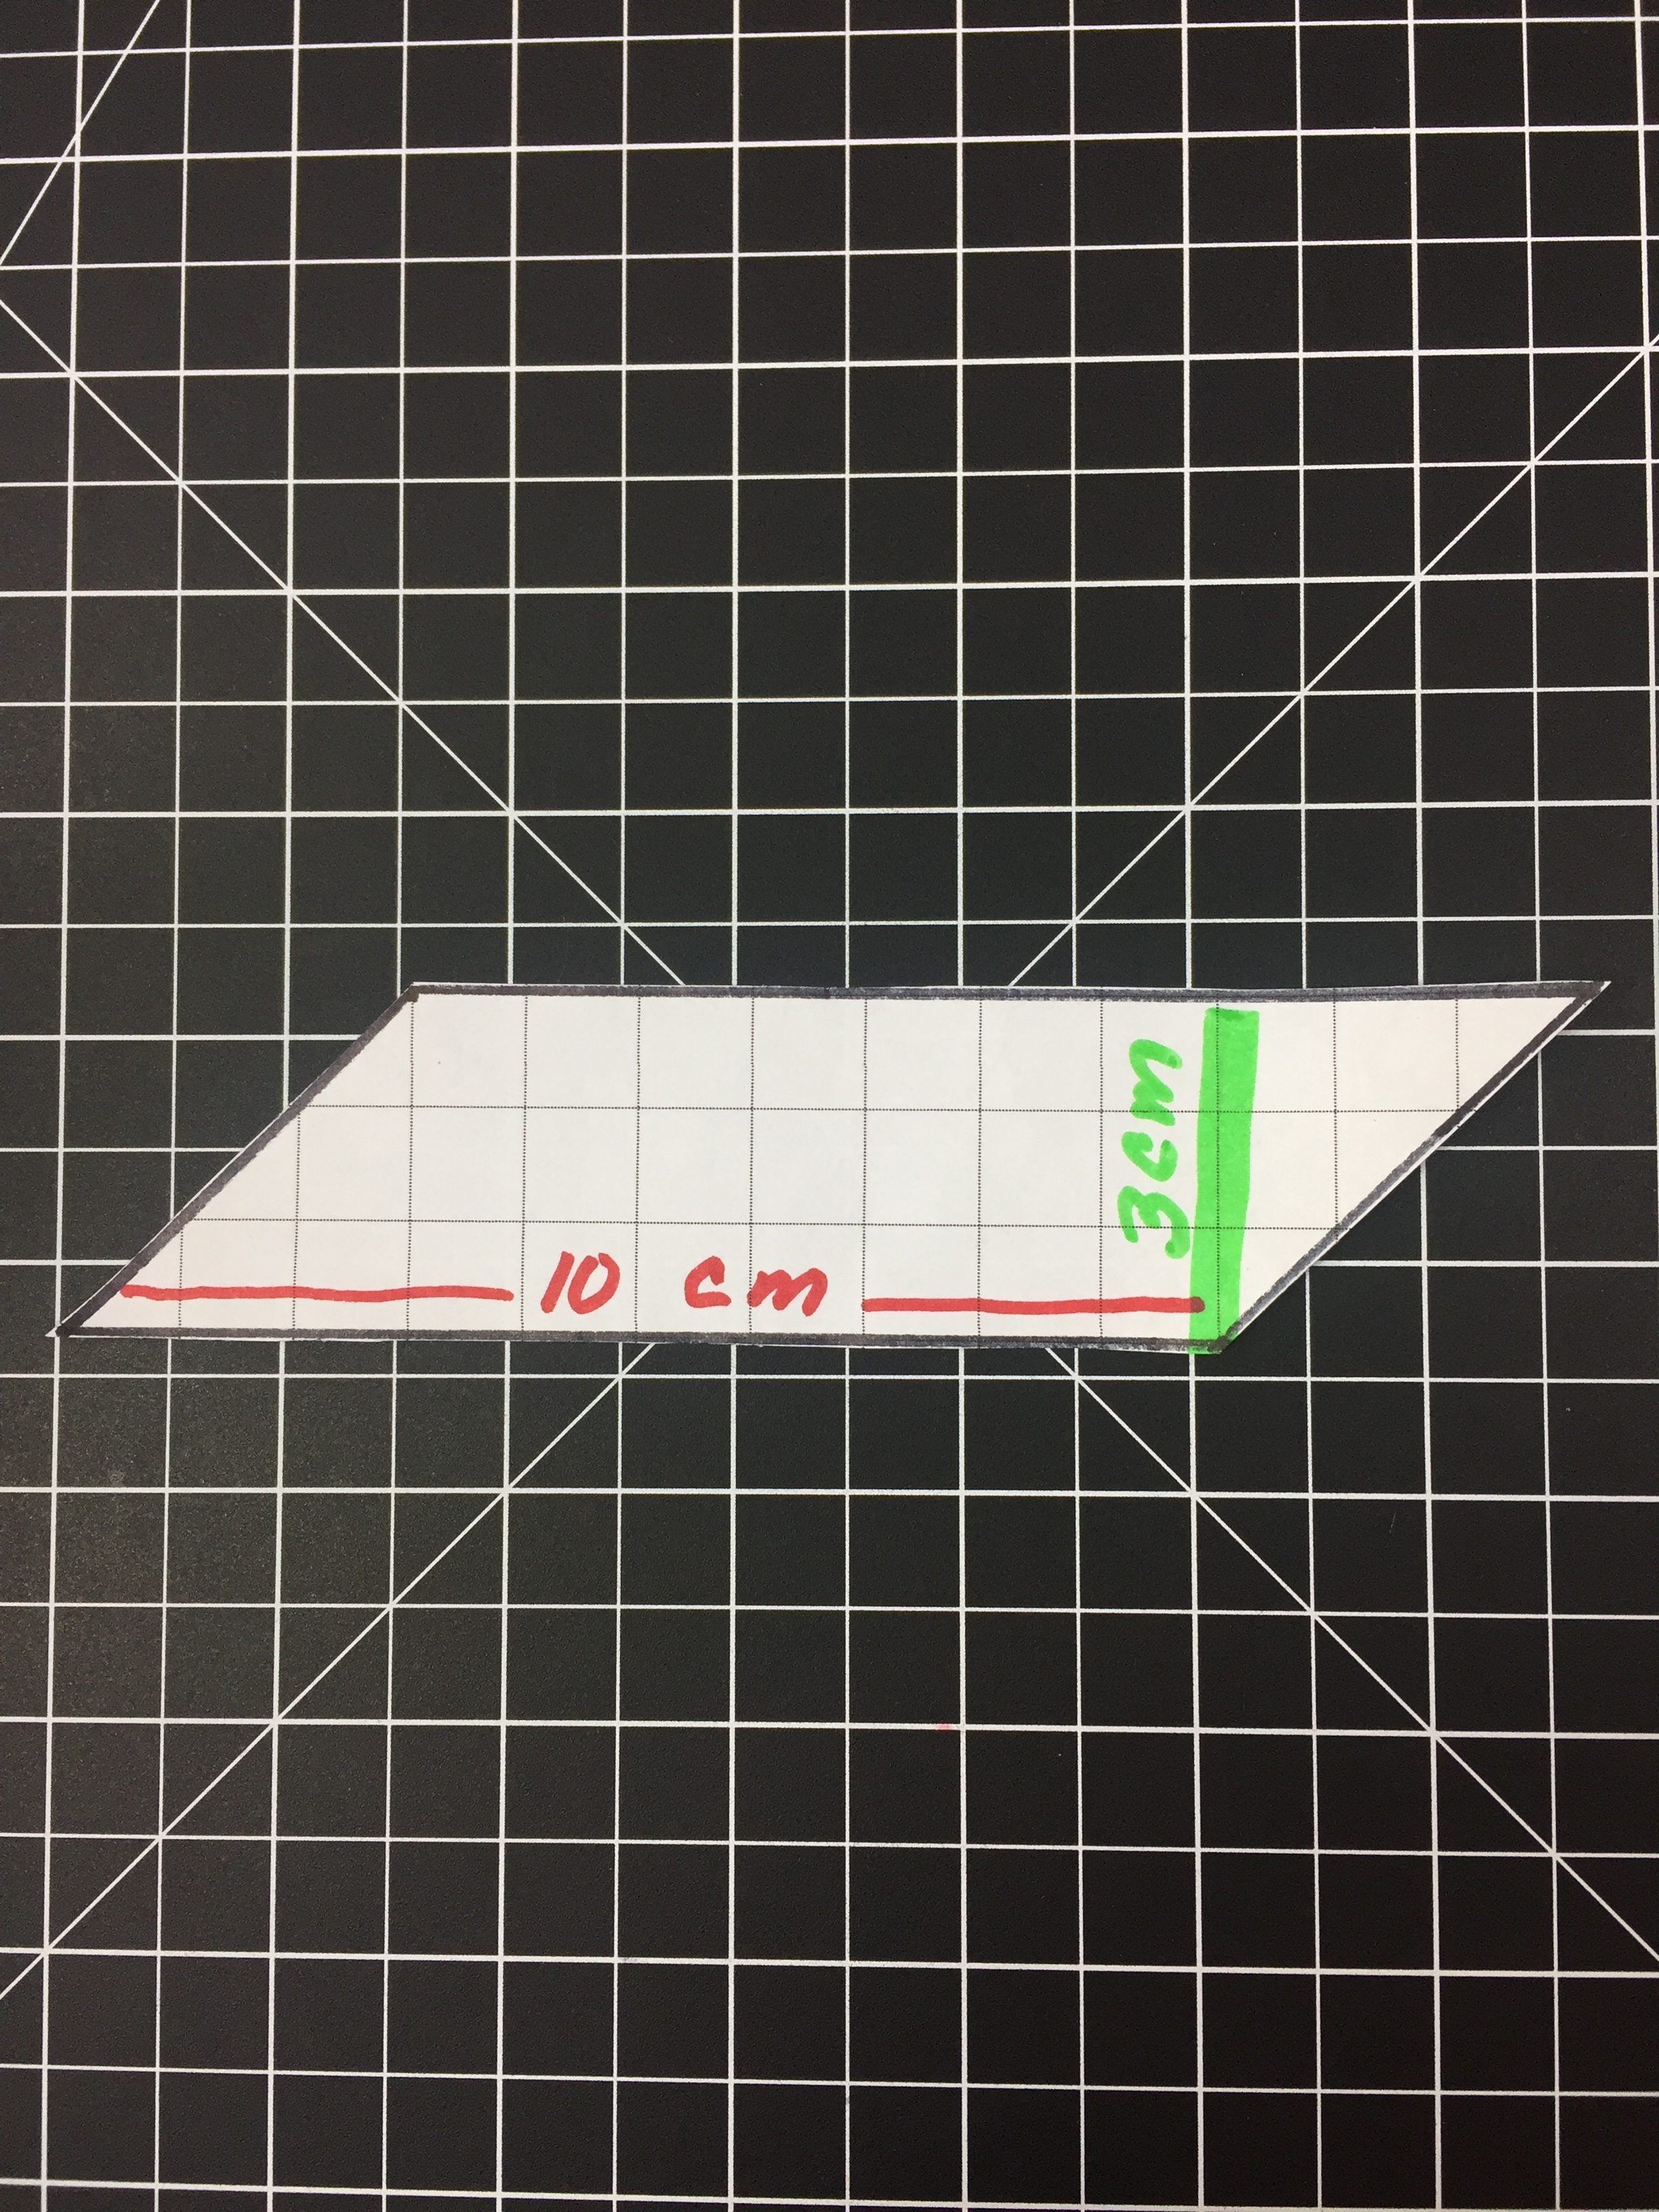
In the world of quadrilaterals, the formula to find area of Trapezoids is one of the most feared by middle school students. Perhaps it’s the use of parentheses. If you throw these bad boys into a problem it’s sure to create a certain level of anarchy. Possibly it’s the use of the numbers 1 and 2 written below and to the right of the two bases (b) in the parentheses.
Regardless of of the reason, the formula for Area of Trapezoids has caused many kids to surrender without so much as a fight.
The kicker is that the formula is not difficult to solve. In this blog we will look at a couple of the key terms, dissect the formula, give three examples of finding area and show you a three ways to model finding the area.
Read More