
Cereal Box Project: A middle school math project
For over a decade the Cereal Box Project has been a staple in our classroom. The idea is that a cereal box company is introducing a new cereal and they want a unique design for the cereal box to help gain extra attention.
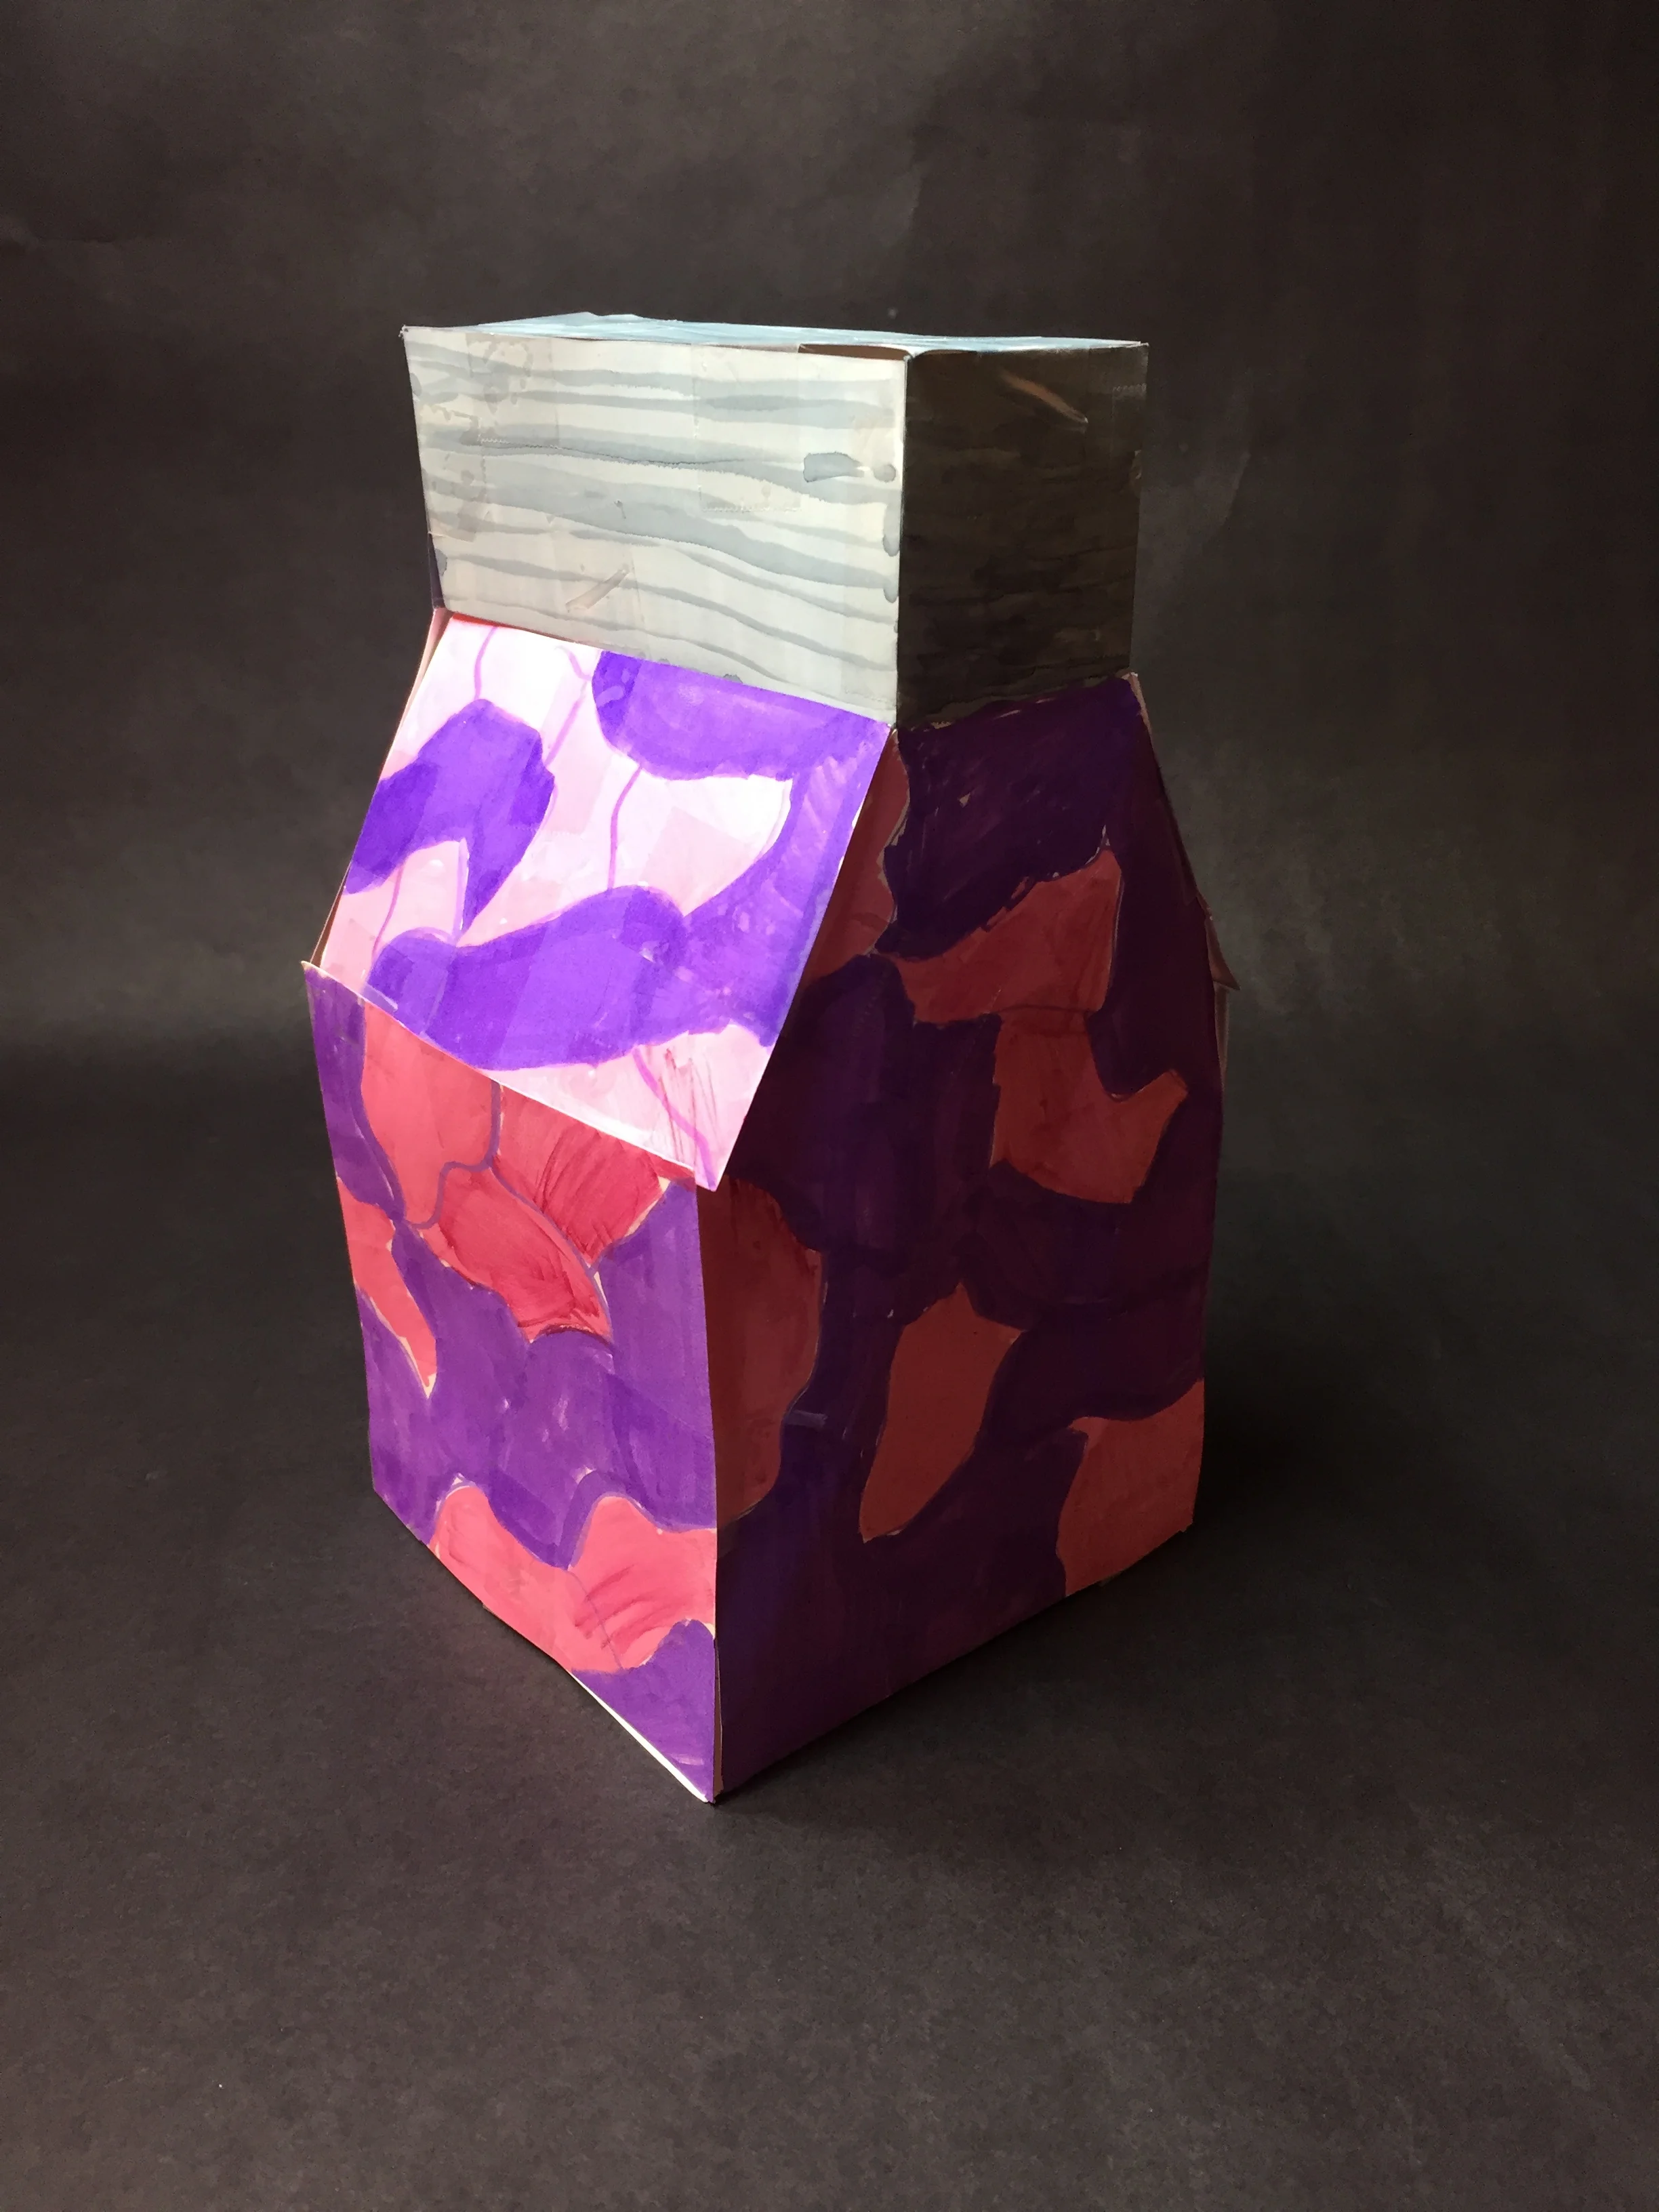
Because the company wants something creative, a simple rectangular prism simply just won't do. The goal is for students to find ways to combine different shapes together to create this eye catching cereal box.
The following is a basic outline of the steps that we follow with this project. In addition, I'm including a few lessons from this years Cereal Box Project experience.
Step 1 - Come up with an Idea

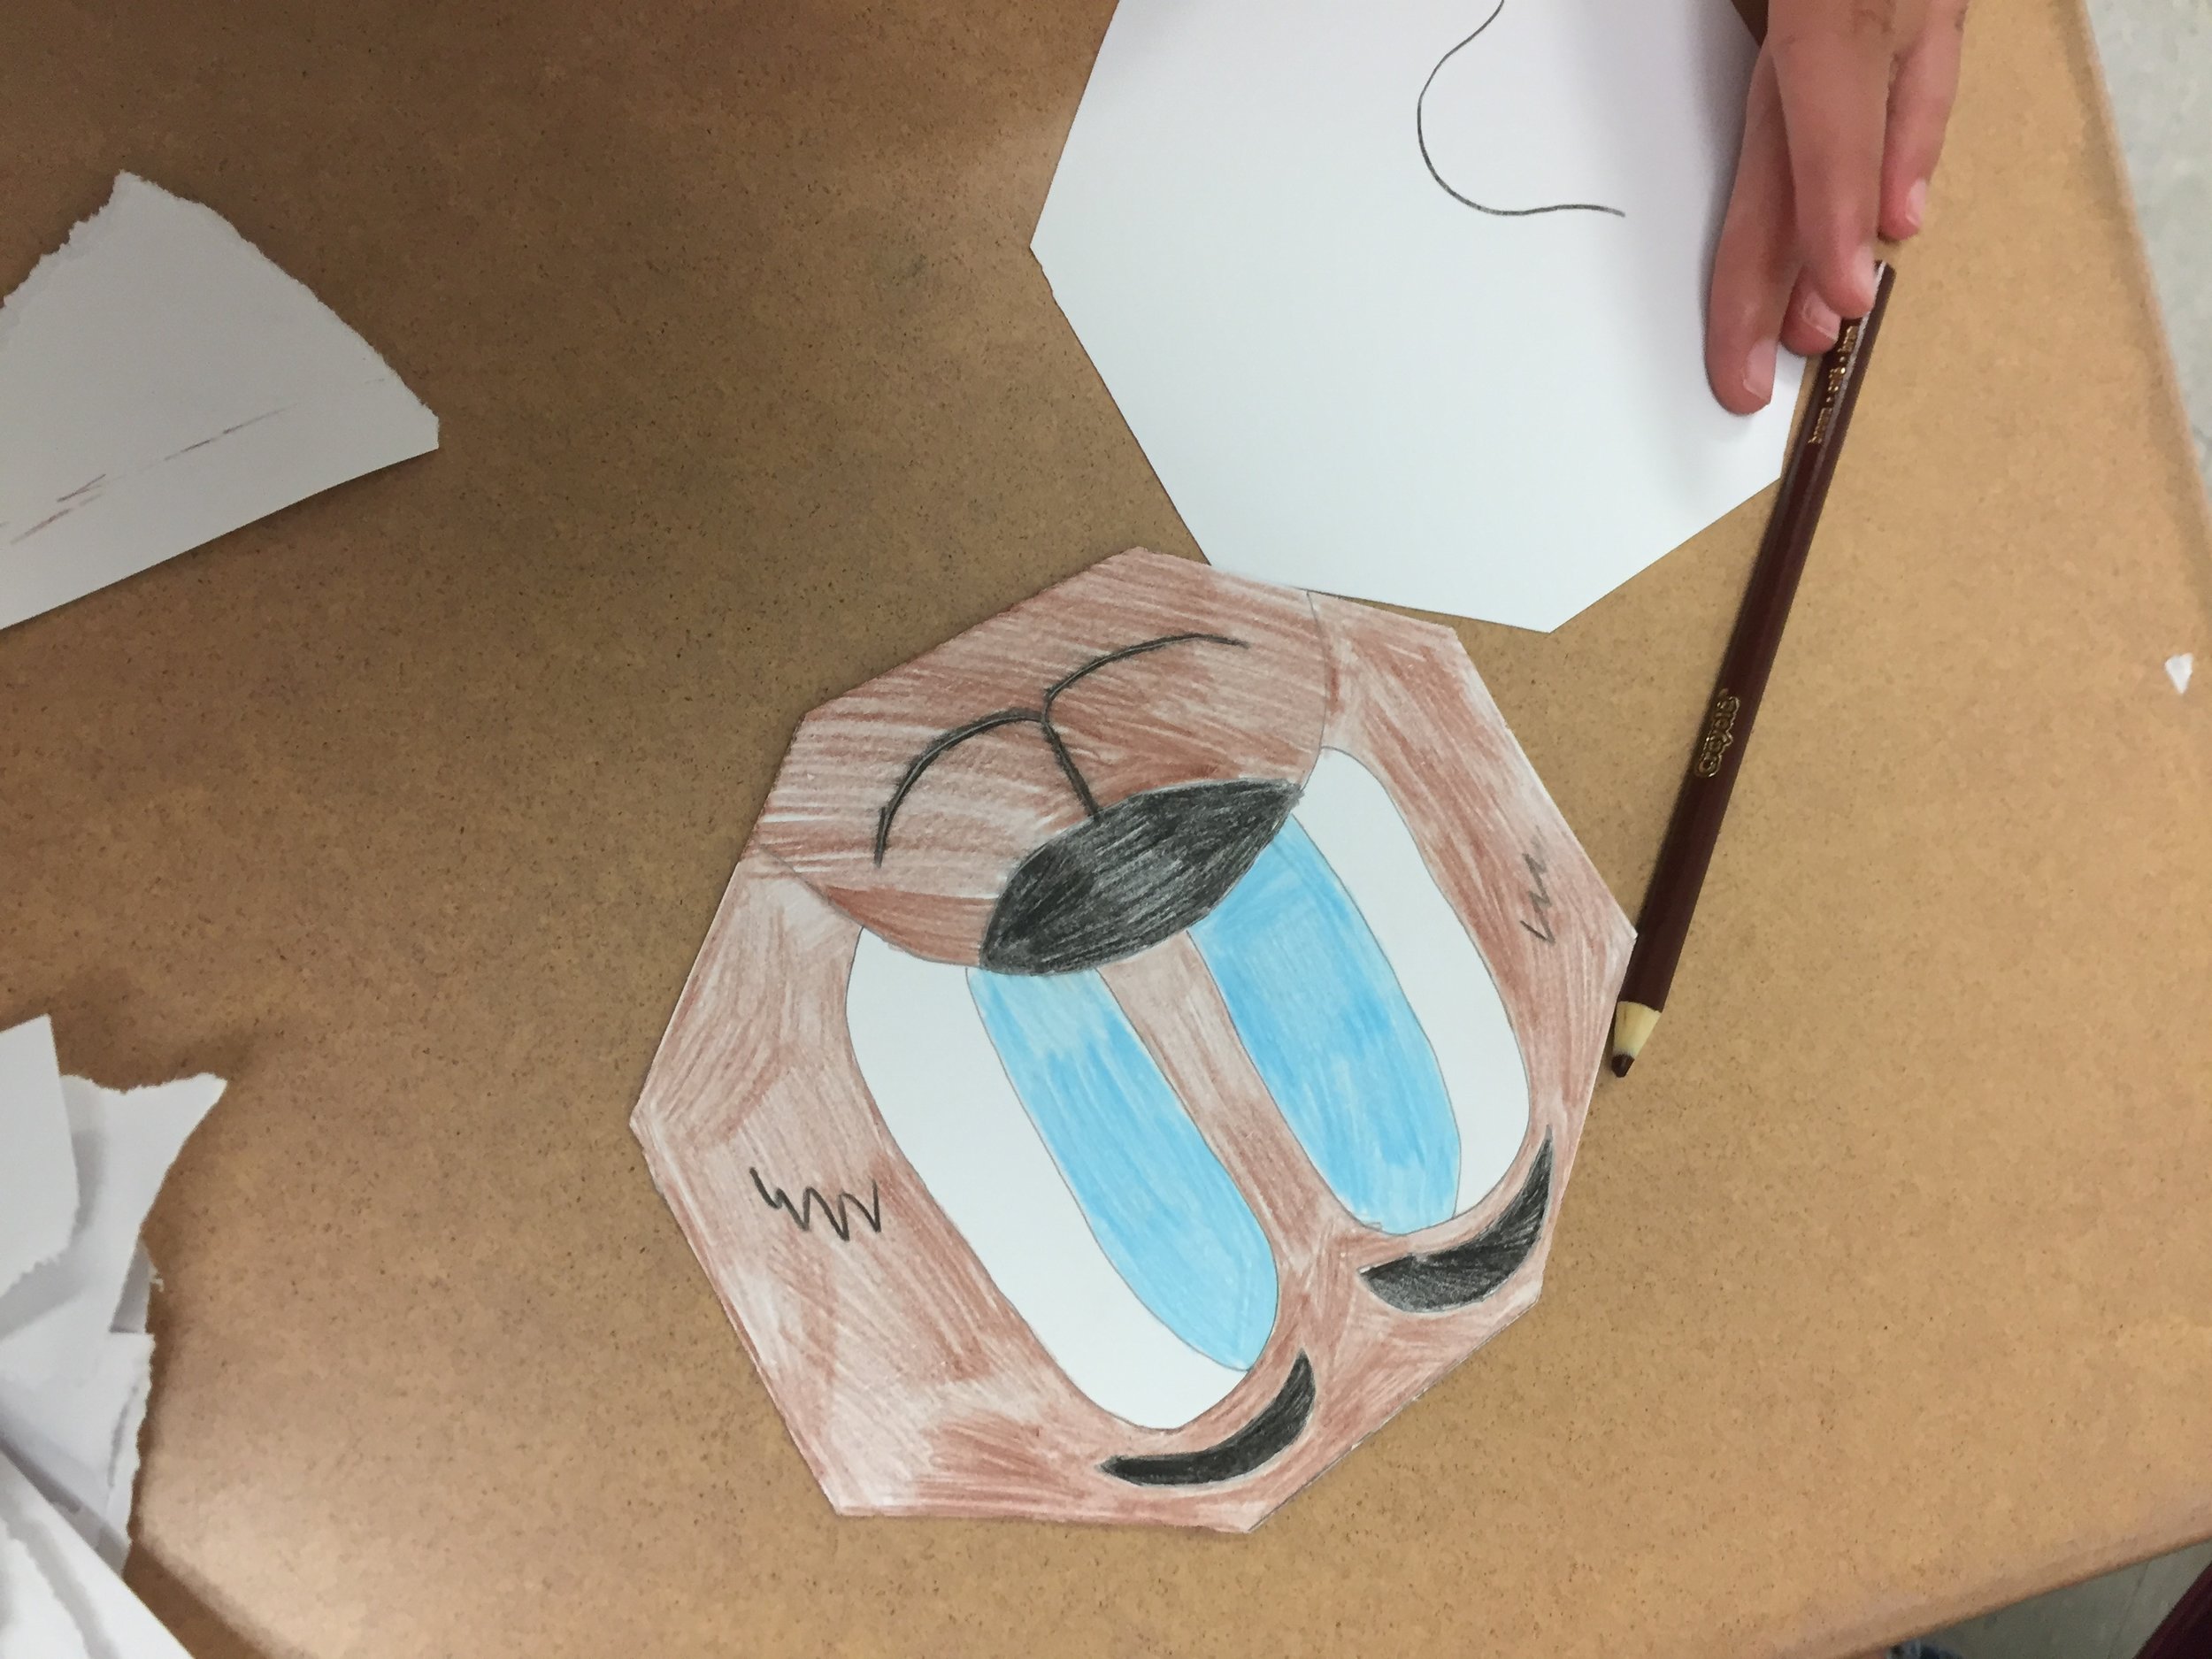
The idea? A light bulb of course. How do you make a light bulb? Make a Hendecagon of naturally.
Like baseball? Really into Star Wars? Love doughnuts?
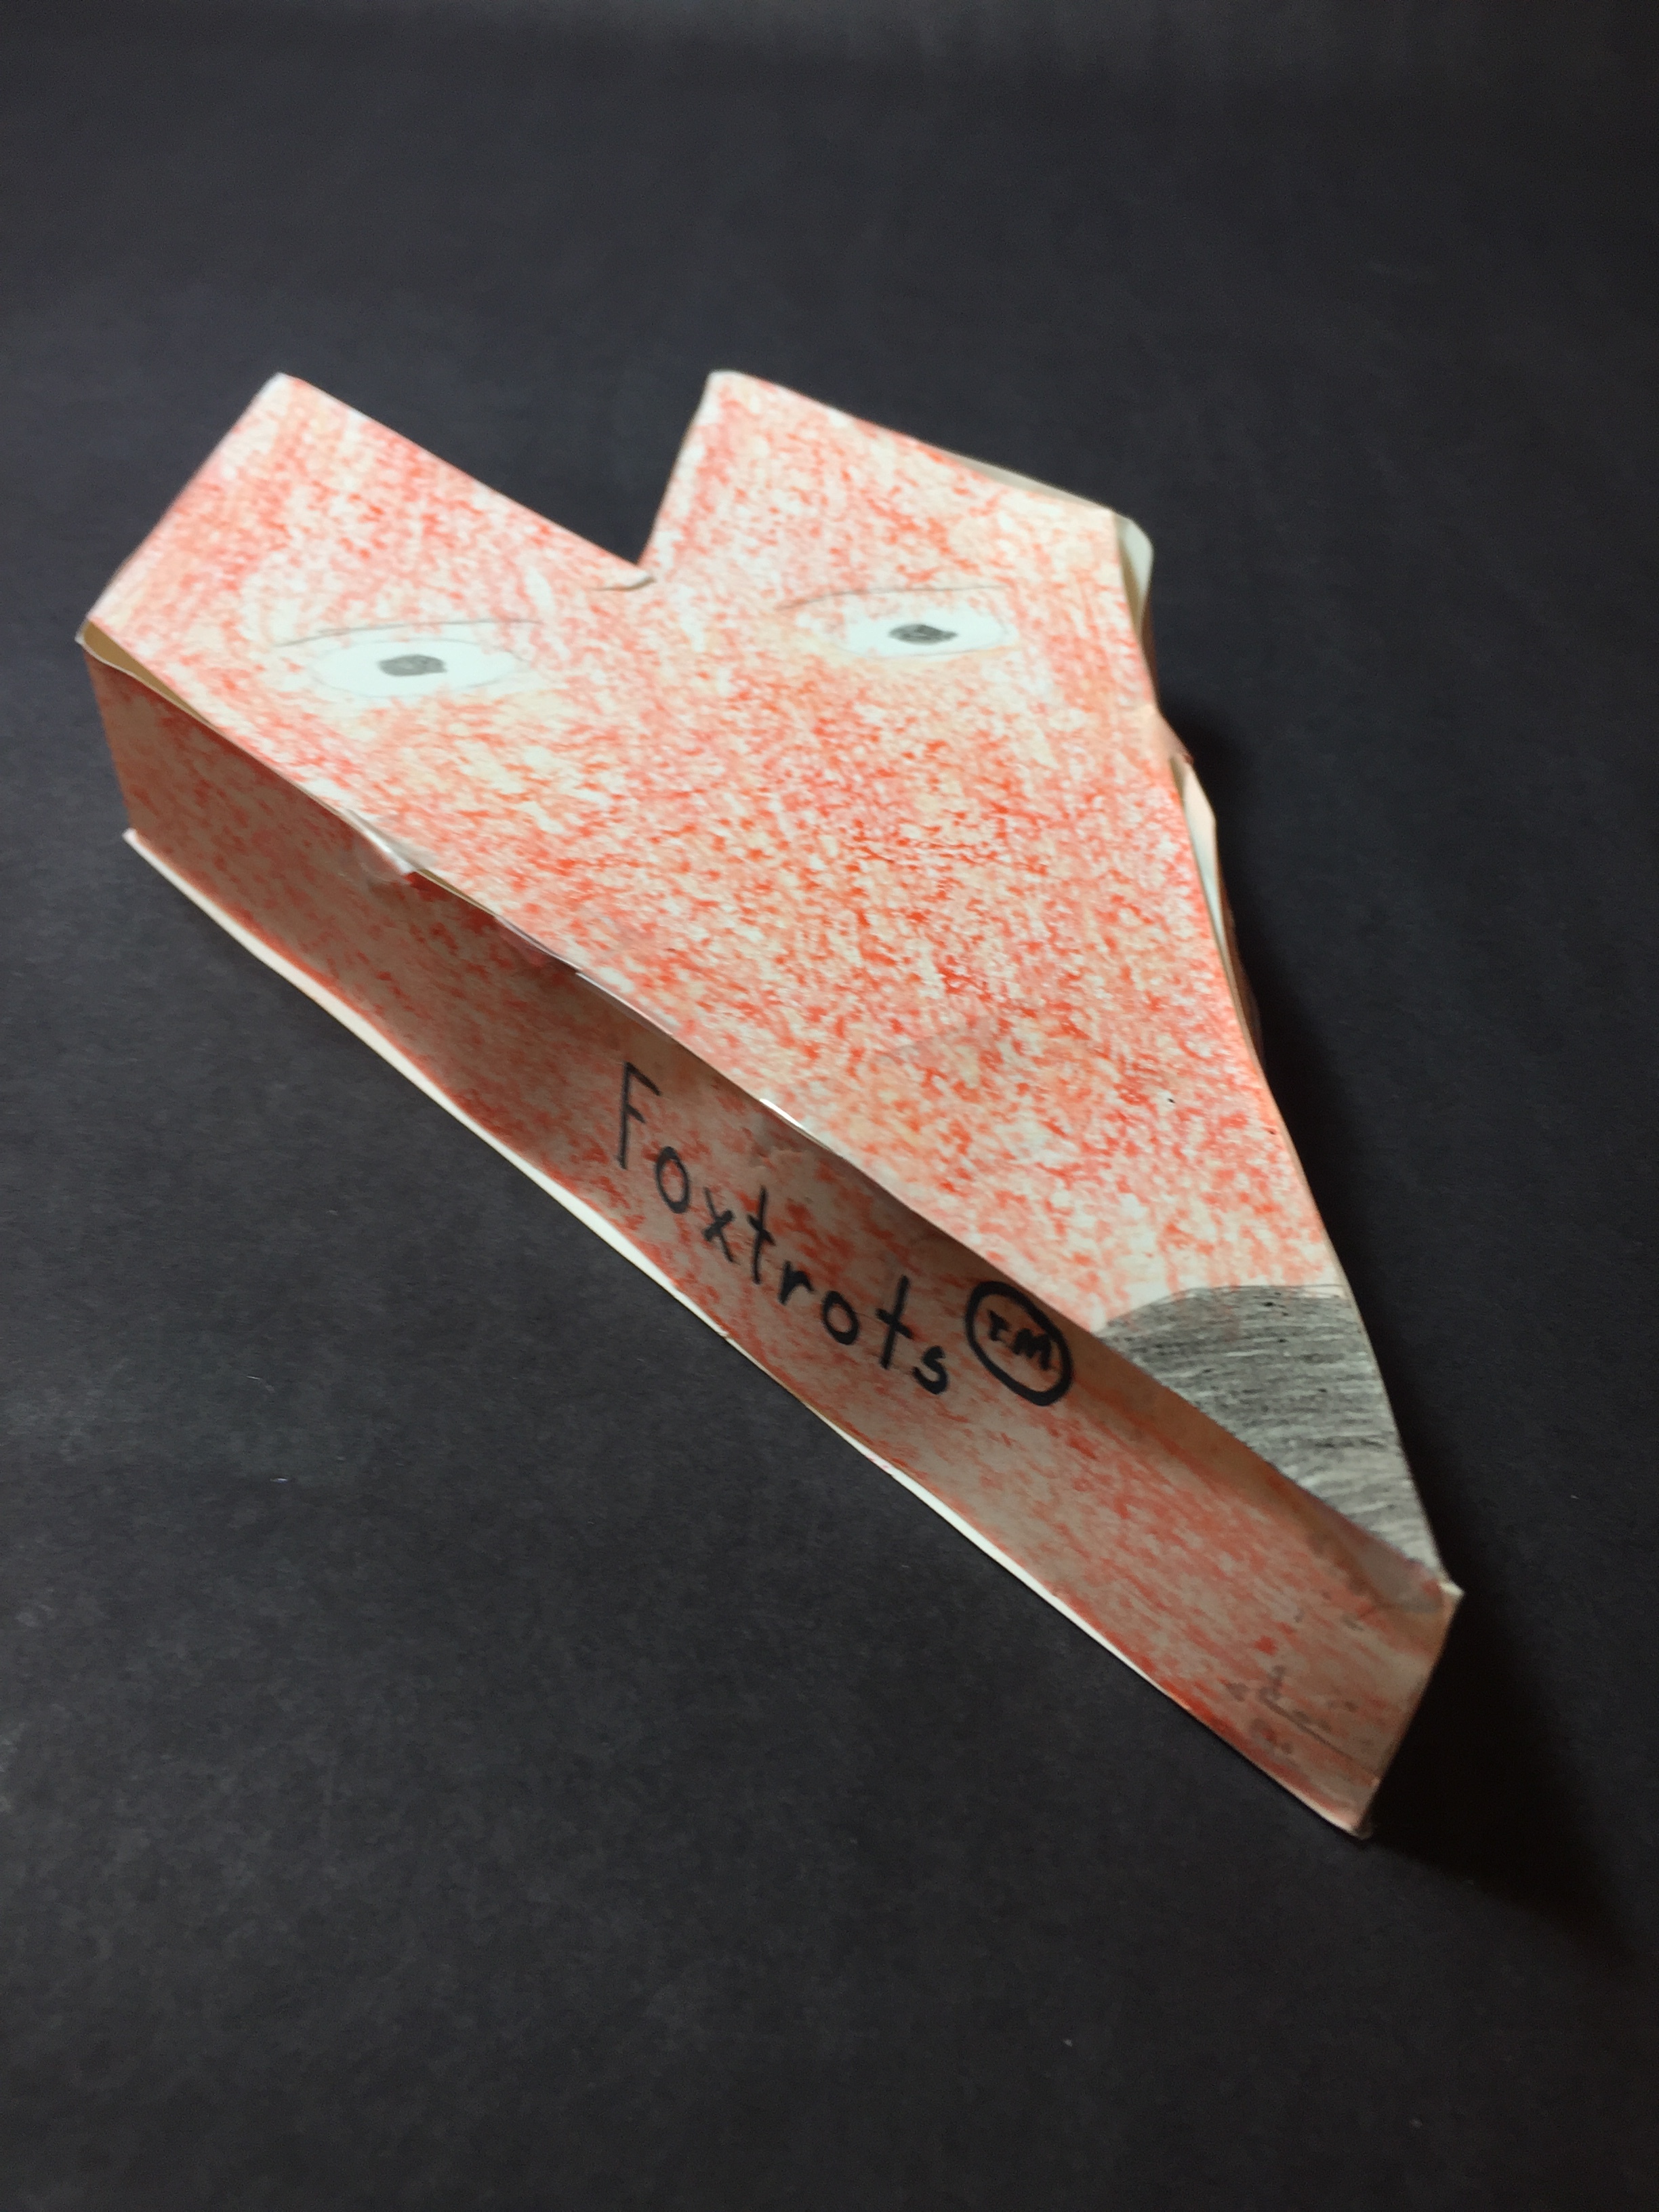
When coming up with an idea I find it helps student engagement when the students can use a topic that they are interested in. For example, if a student is really into baseball/softball they can make their cereal box look like a glove, bat, baseball field, home plate etc. This year a lot of my students are into the video game Fortnite. As a result, a large amount of cereal boxes has a strong Fortnite theme.
Step 2 - Reverse Engineer
As a middle school or elementary student there are certain limitations that we must work around. Many of these limitations are related to curves. For example, If you are trying to make a basketball (sphere), Football (prolate spheroid), or perhaps a megaphone (truncated cone) you are going to dive into a lot of math that is above middle school math level.
Have the students think about what they want to create and how they can arrange different shapes to make this object. For me, the fun and challenging part of the project is to create these difficult shapes by using the students current knowledge and skills.
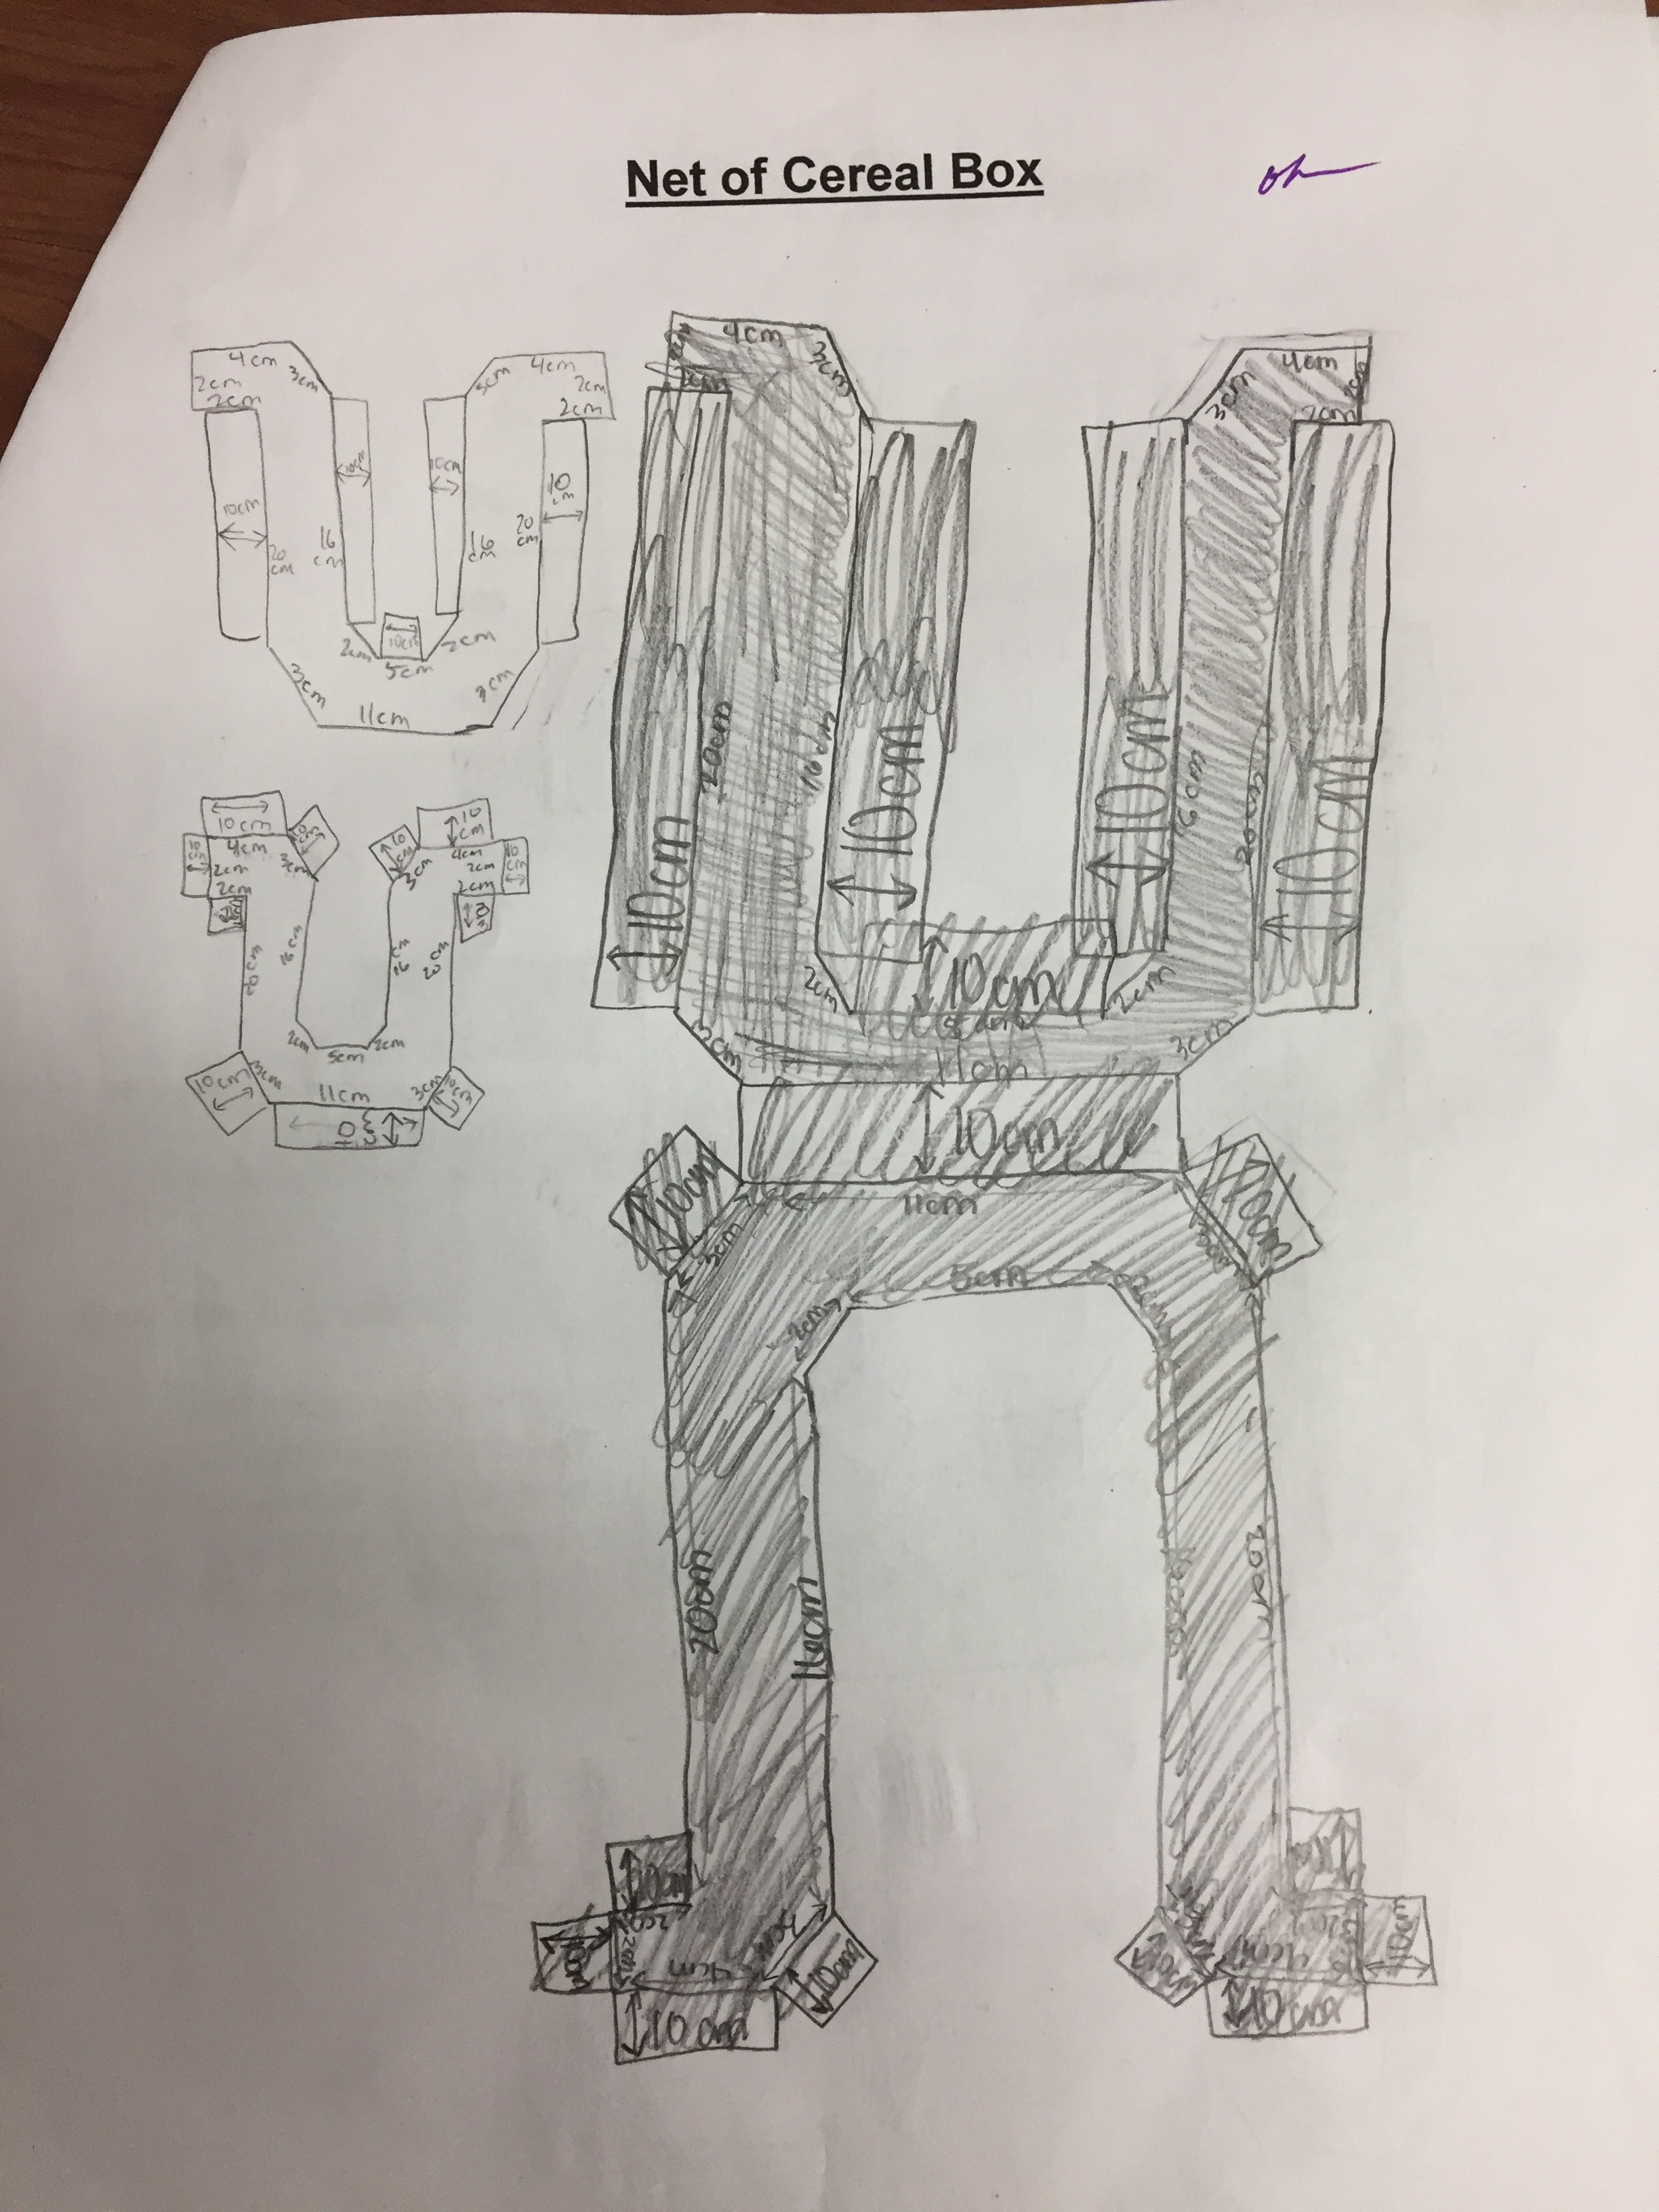
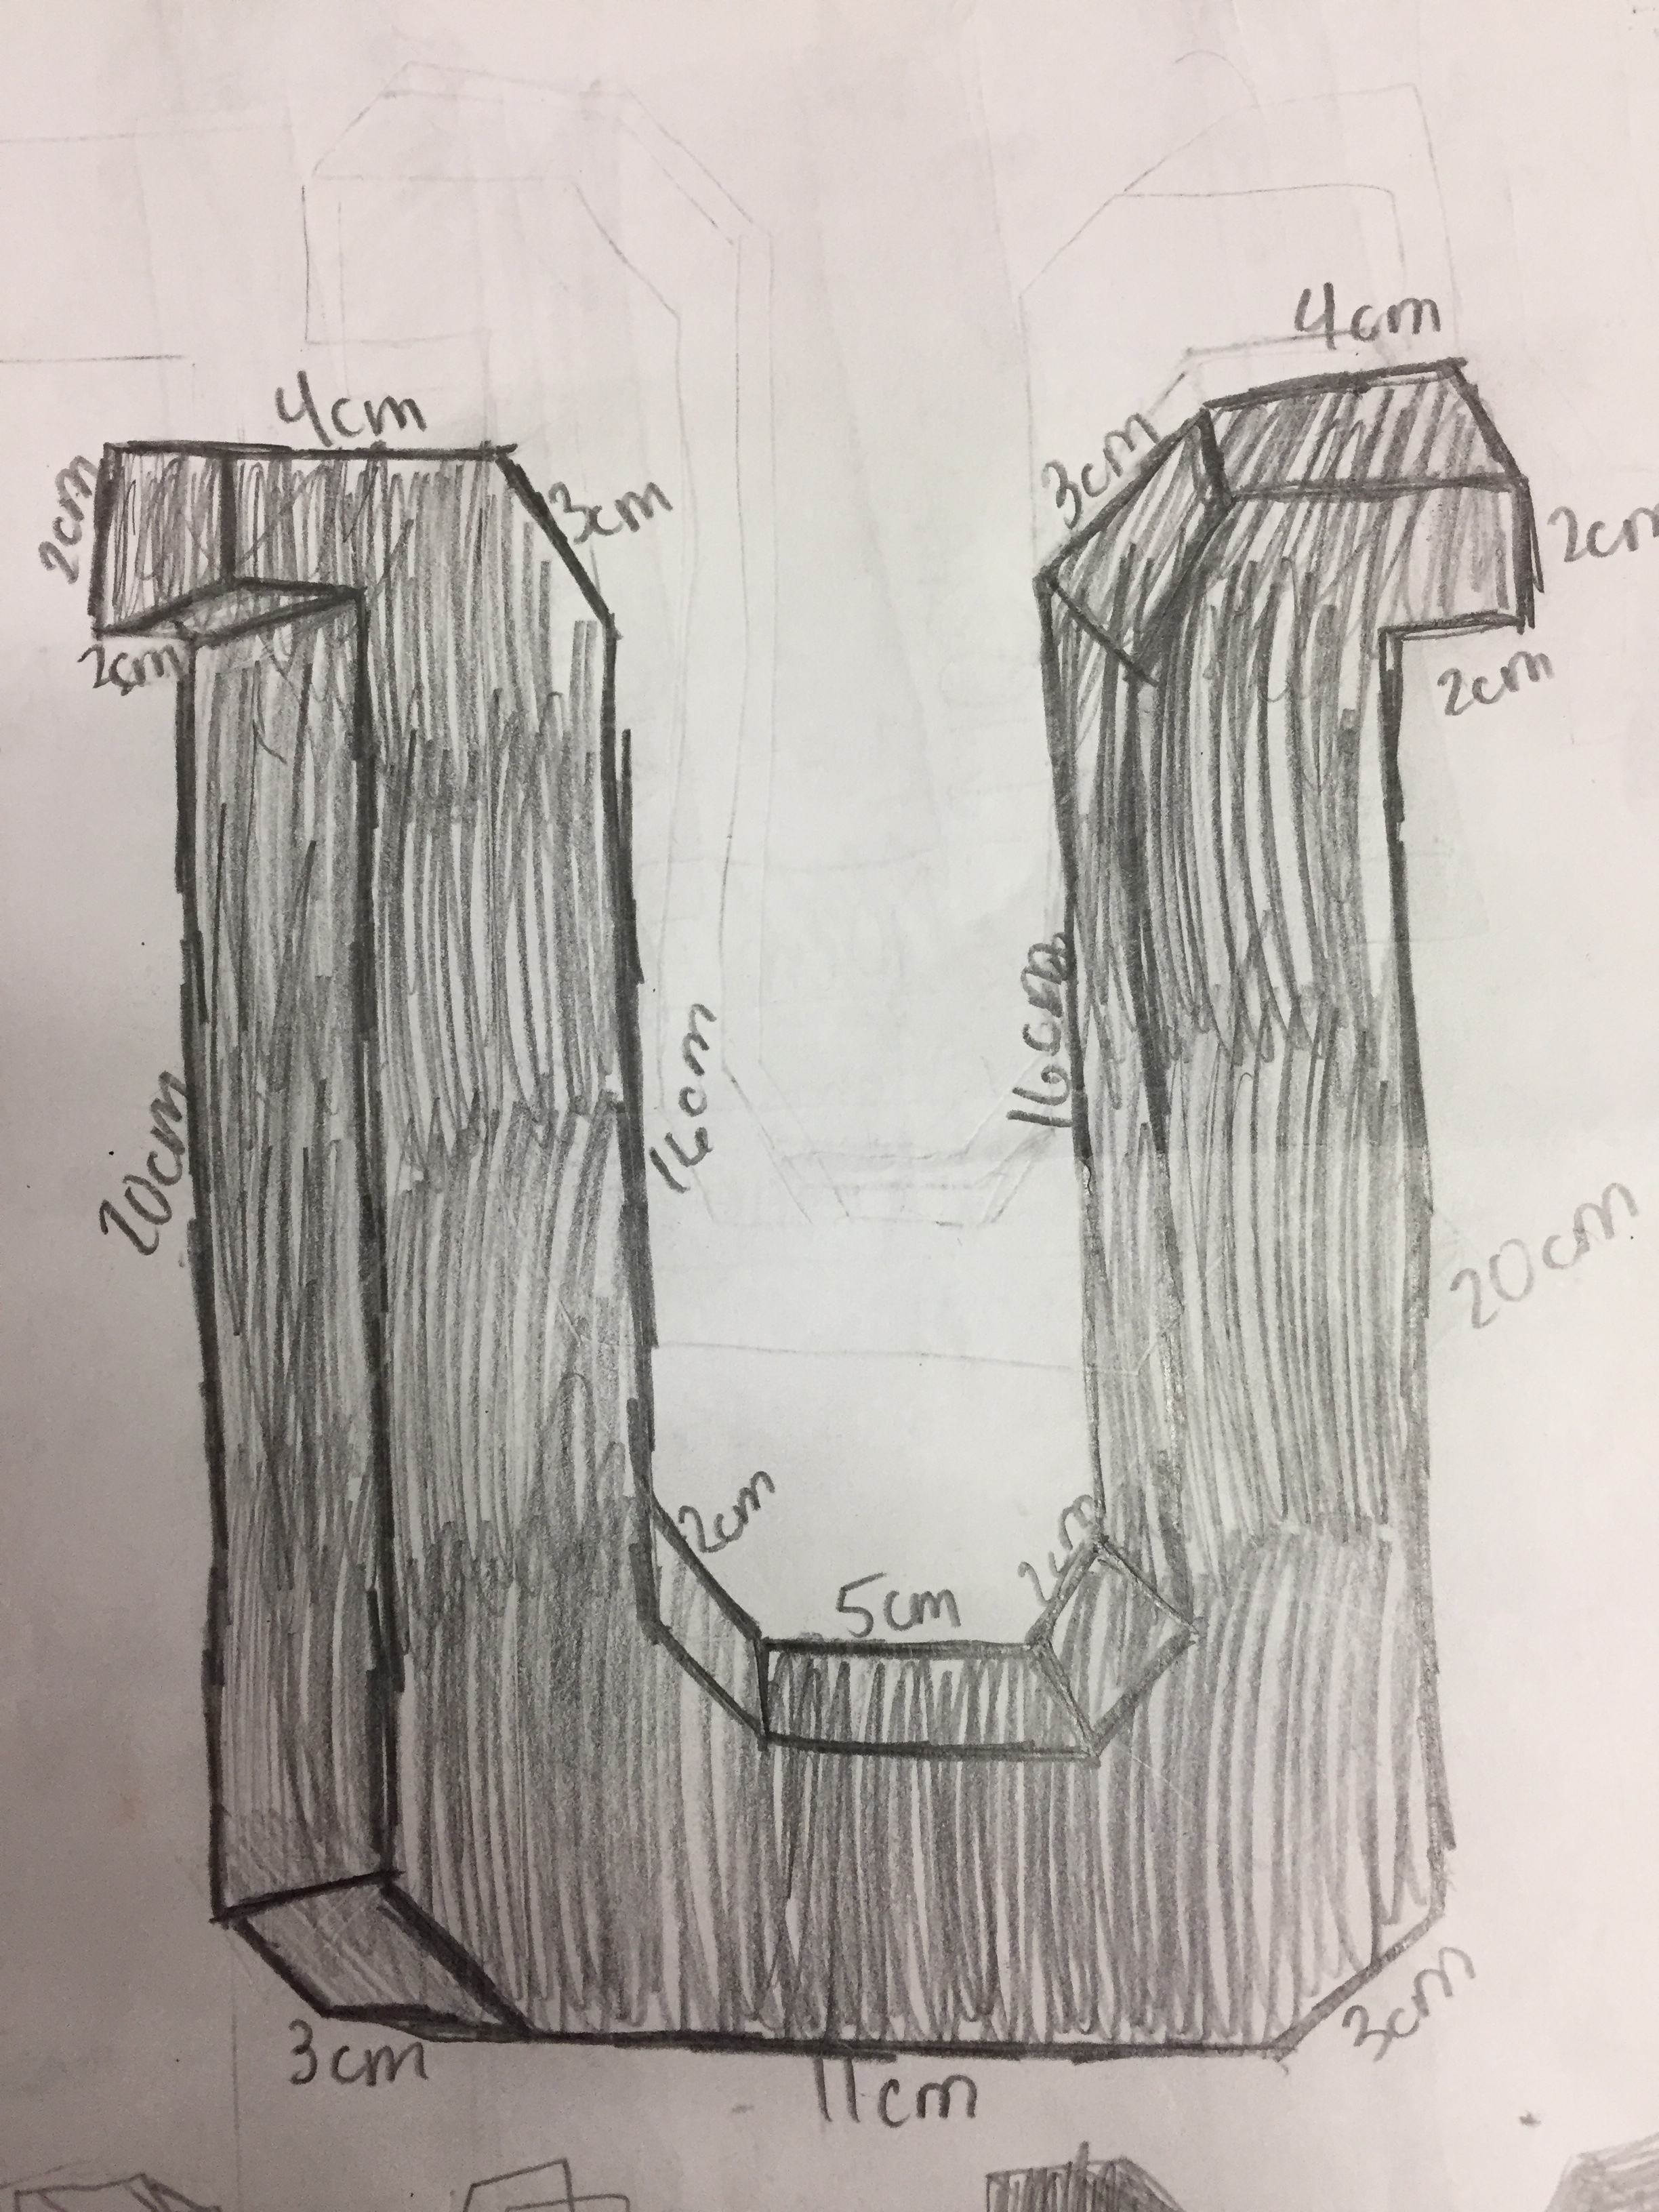
Step 3 - Sketch out the idea
Put it down on paper. Draw the different shapes you are going to combine together to create your shape. Include dimensions.
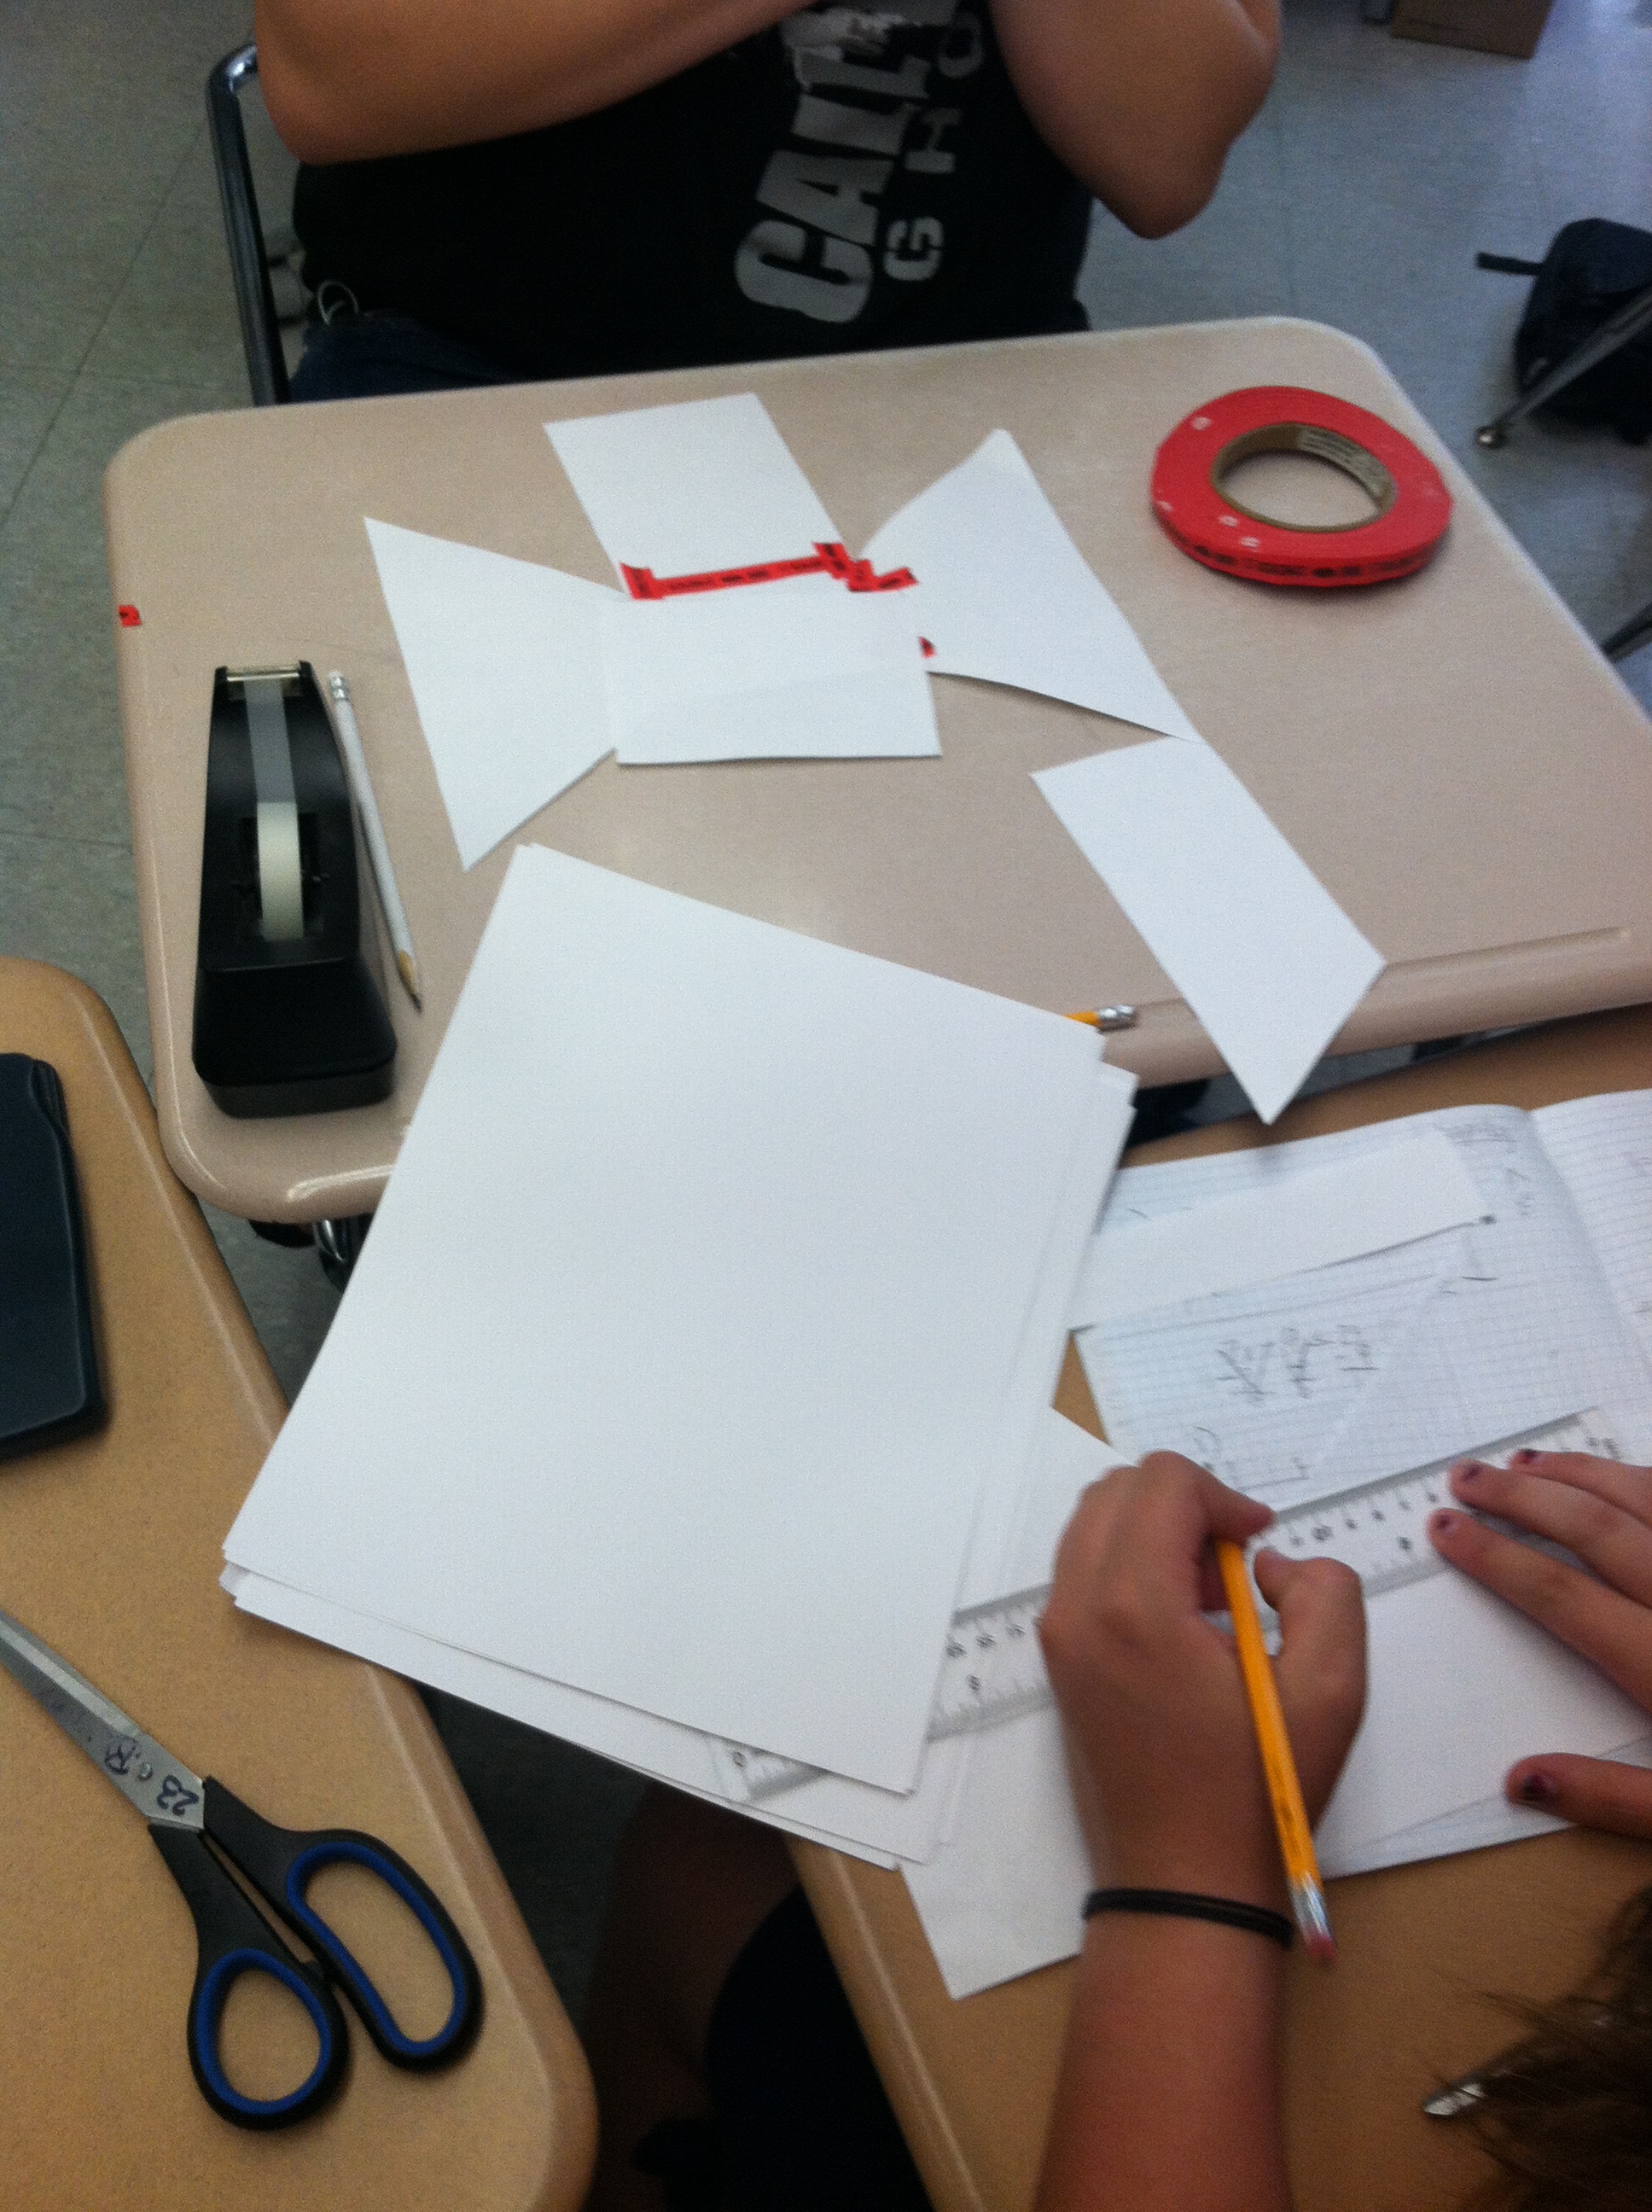
Step 4 - Build a Prototype
I have our students build their prototype the same size as their actual project. We use scrap paper and masking tape to build these prototypes. A lot of potential pitfalls can be avoided during this step.


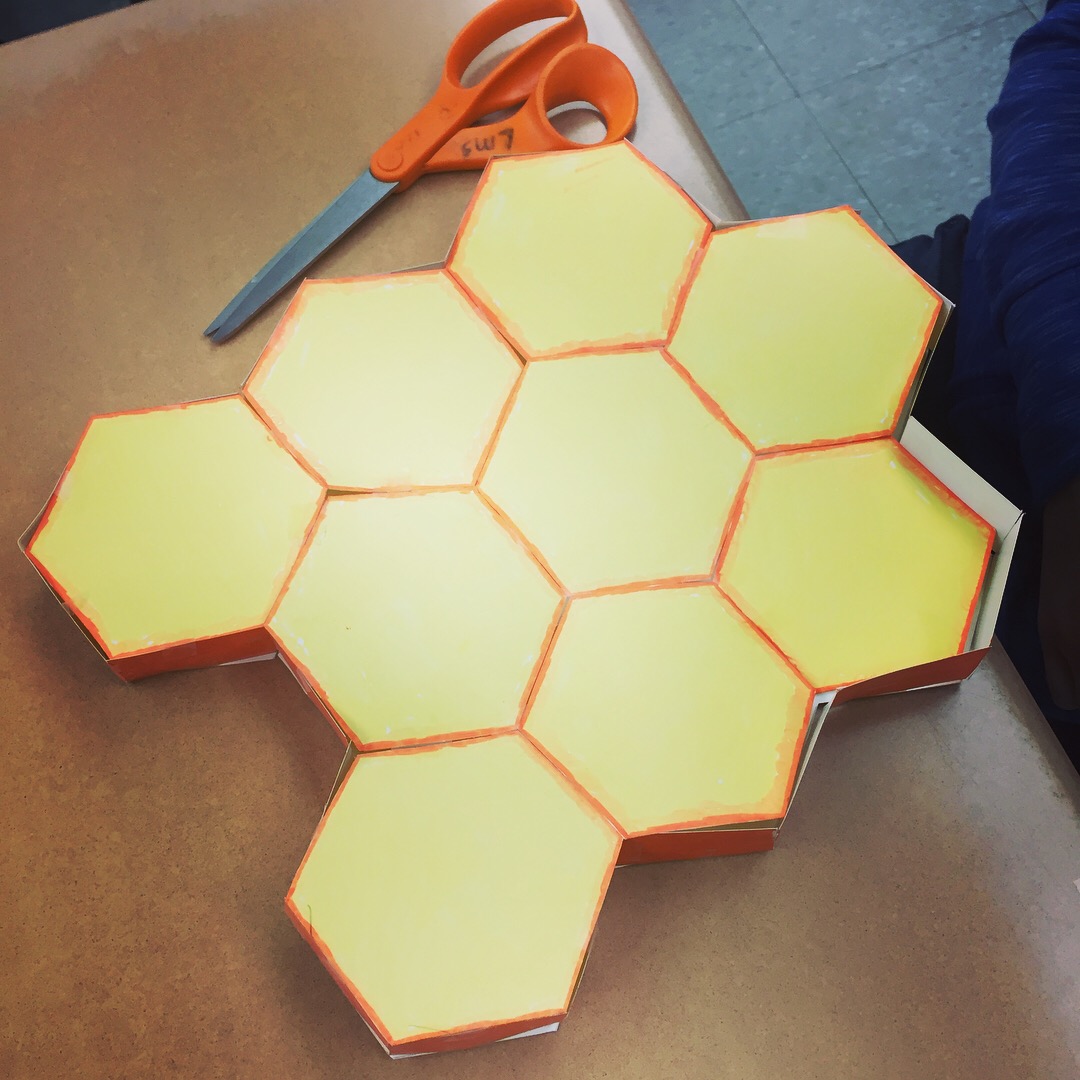
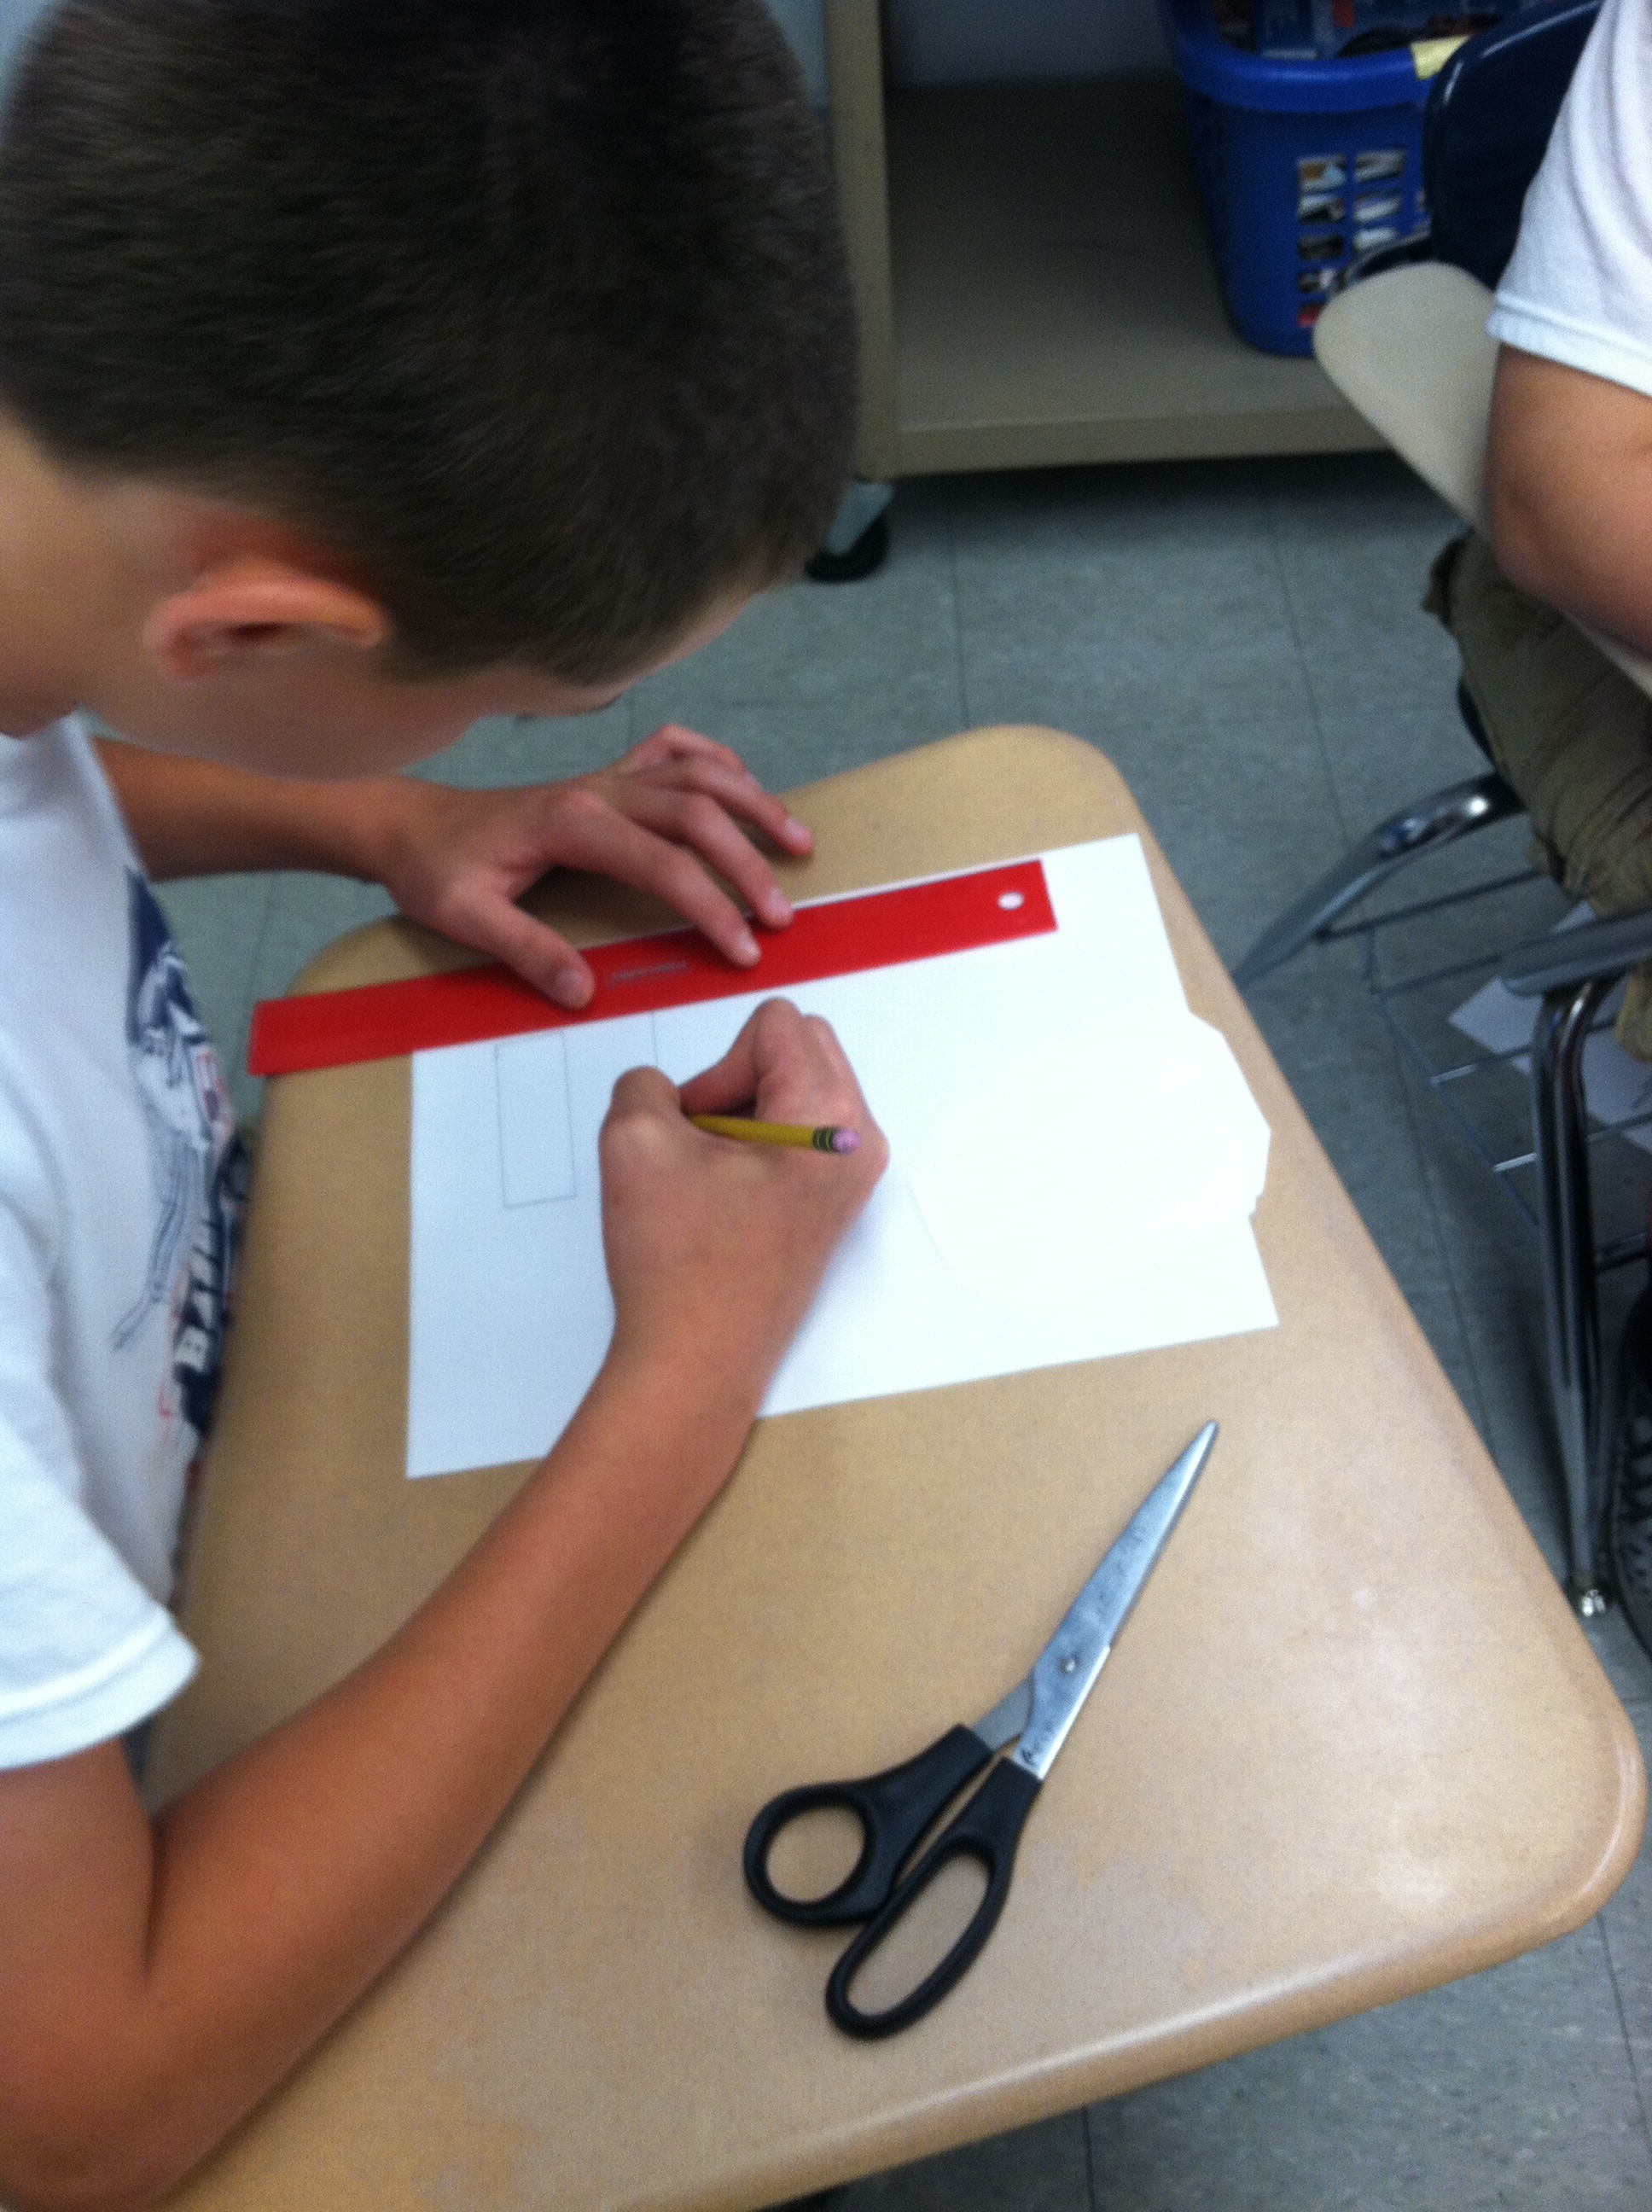
Step 5 - Cutting out individual Pieces
When you begin to build your actual Cereal Box the first thing I like for students to do is cut out the individual sides. We build our cereal boxes out of card stock which is a real thick paper similar to poster board. The thicker paper is nice because it is more stable.
Step 6 - Decorate the individual Pieces
Before the students begin to assemble their projects they should first decorate. Every year I will have a small collection of students that will tape their entire box together then decide to color and design it. This almost always leads to frustration and crushed cereal boxes.


Step 7 - Assemble the Cereal Box
We use scotch tape on the final project. We try to tape as much on the inside as possible. As a general rule: The less tape you see the better the project will look.


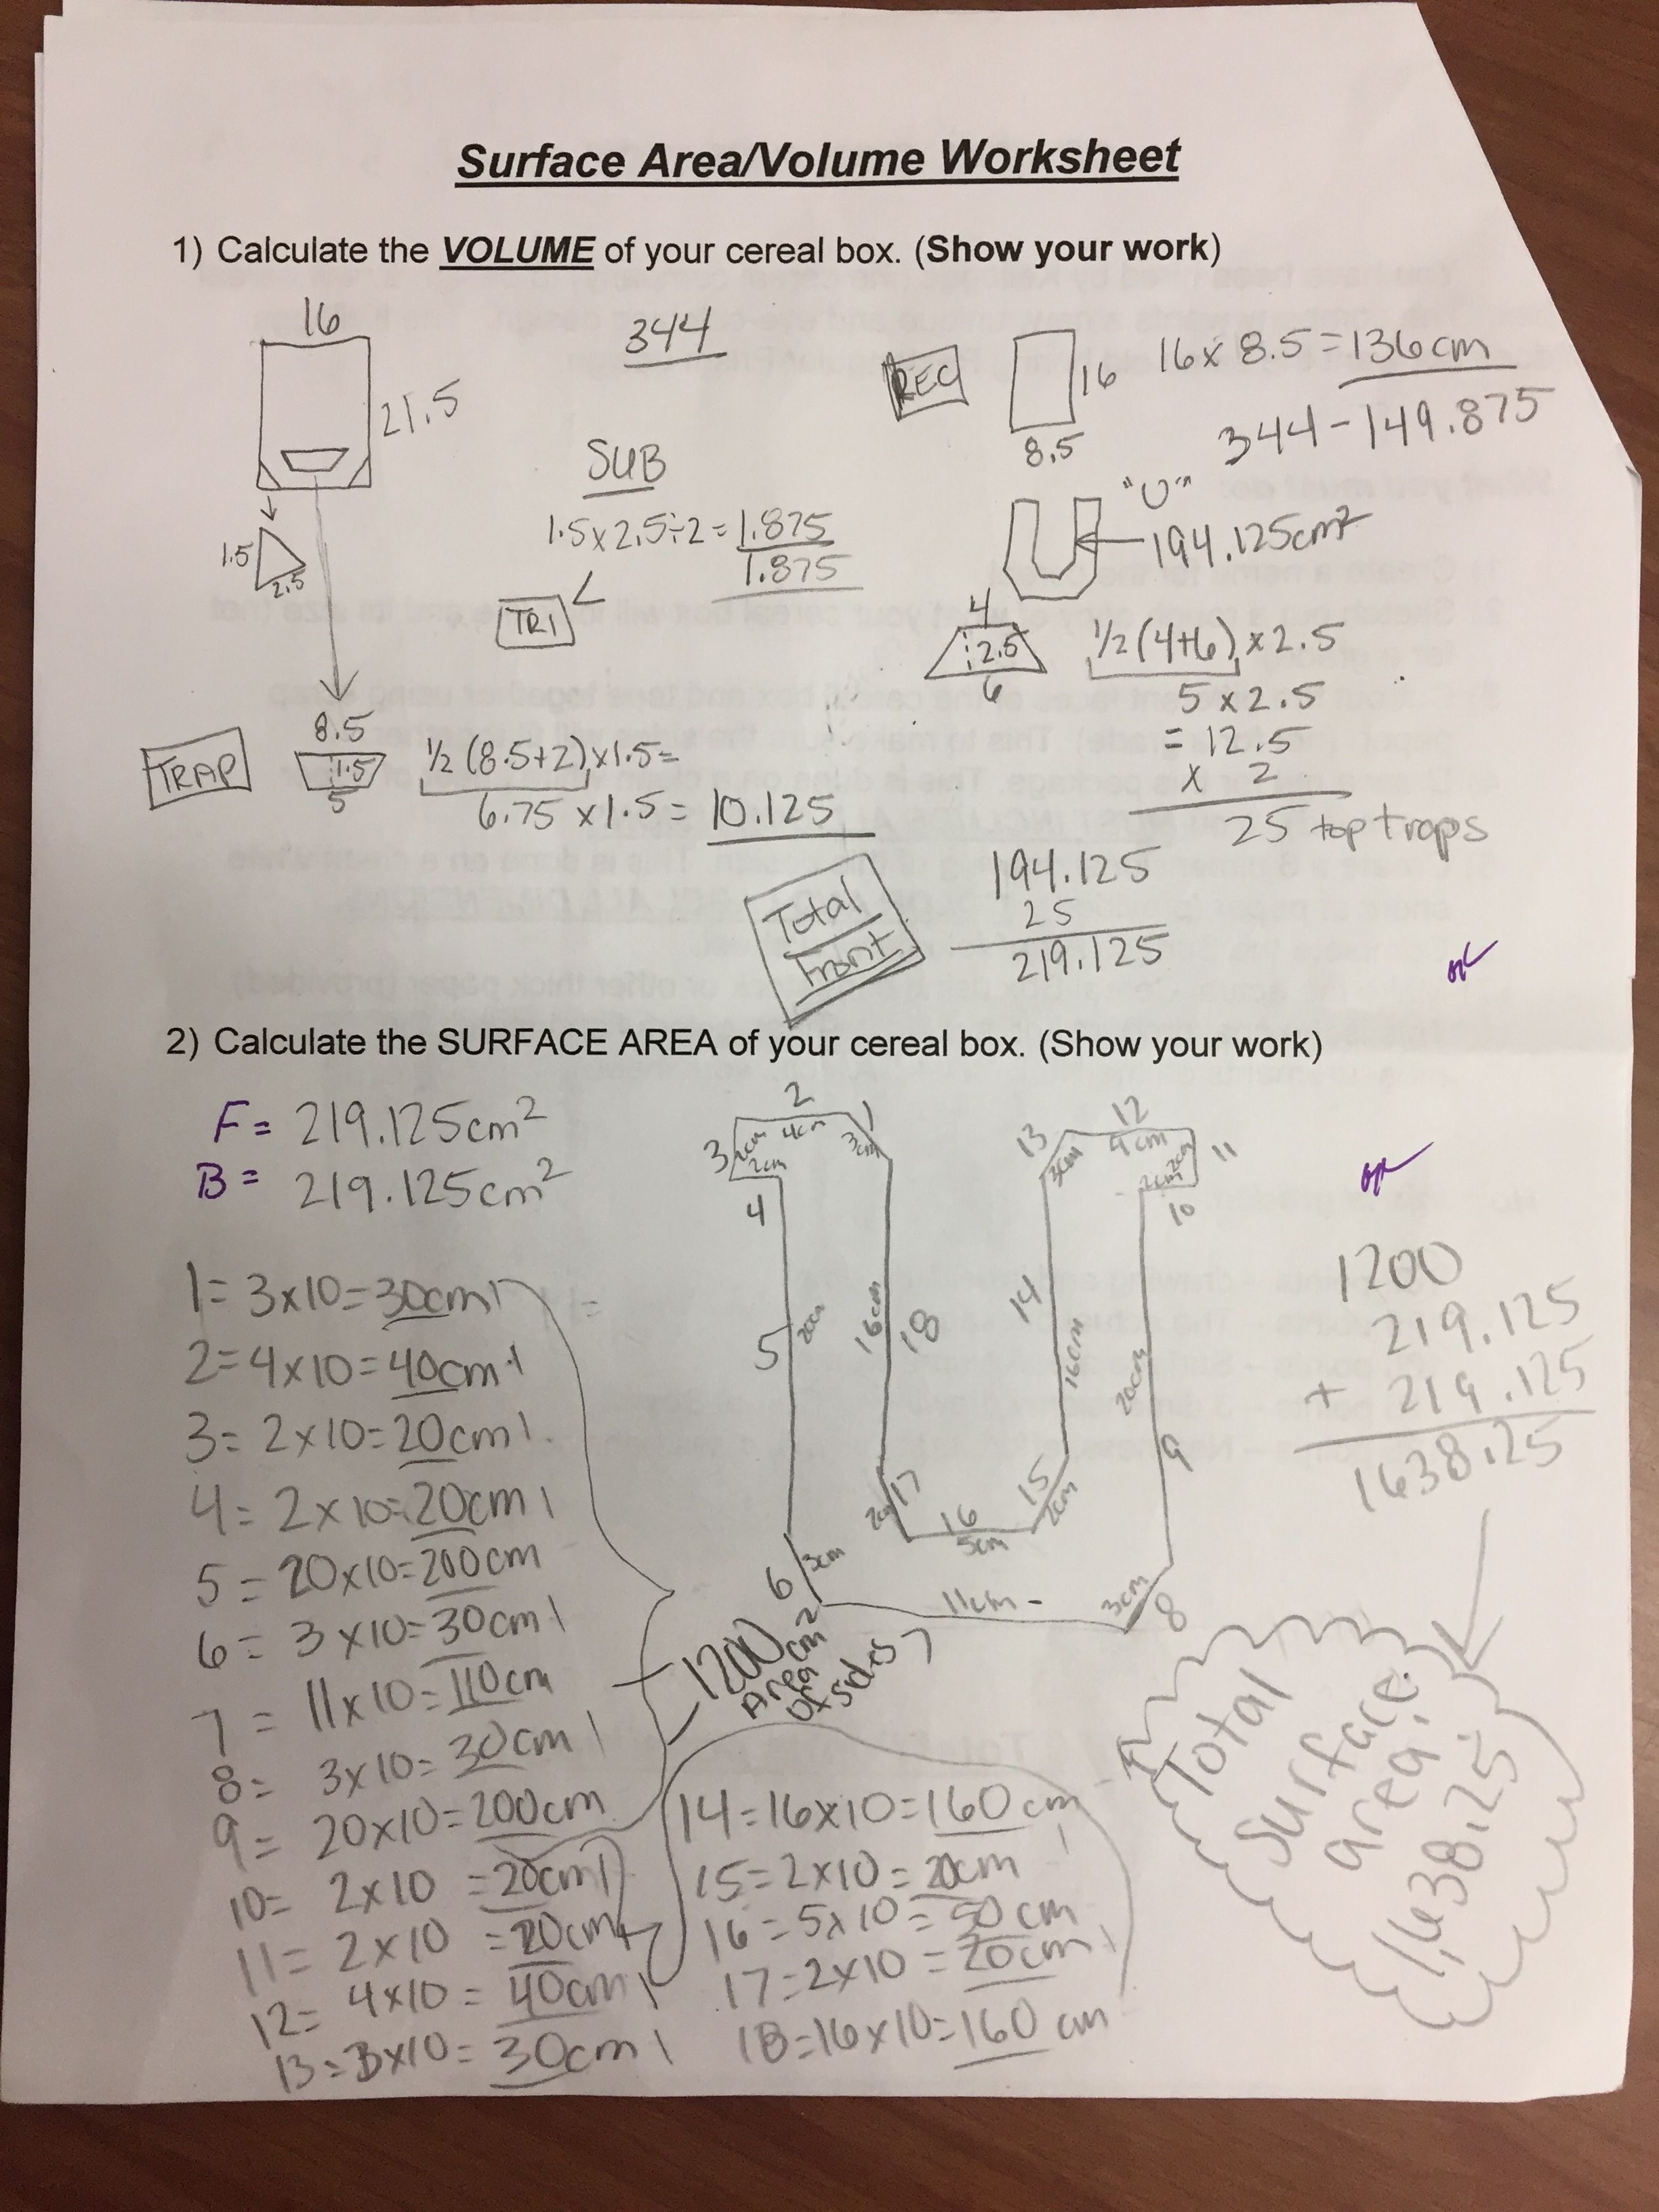
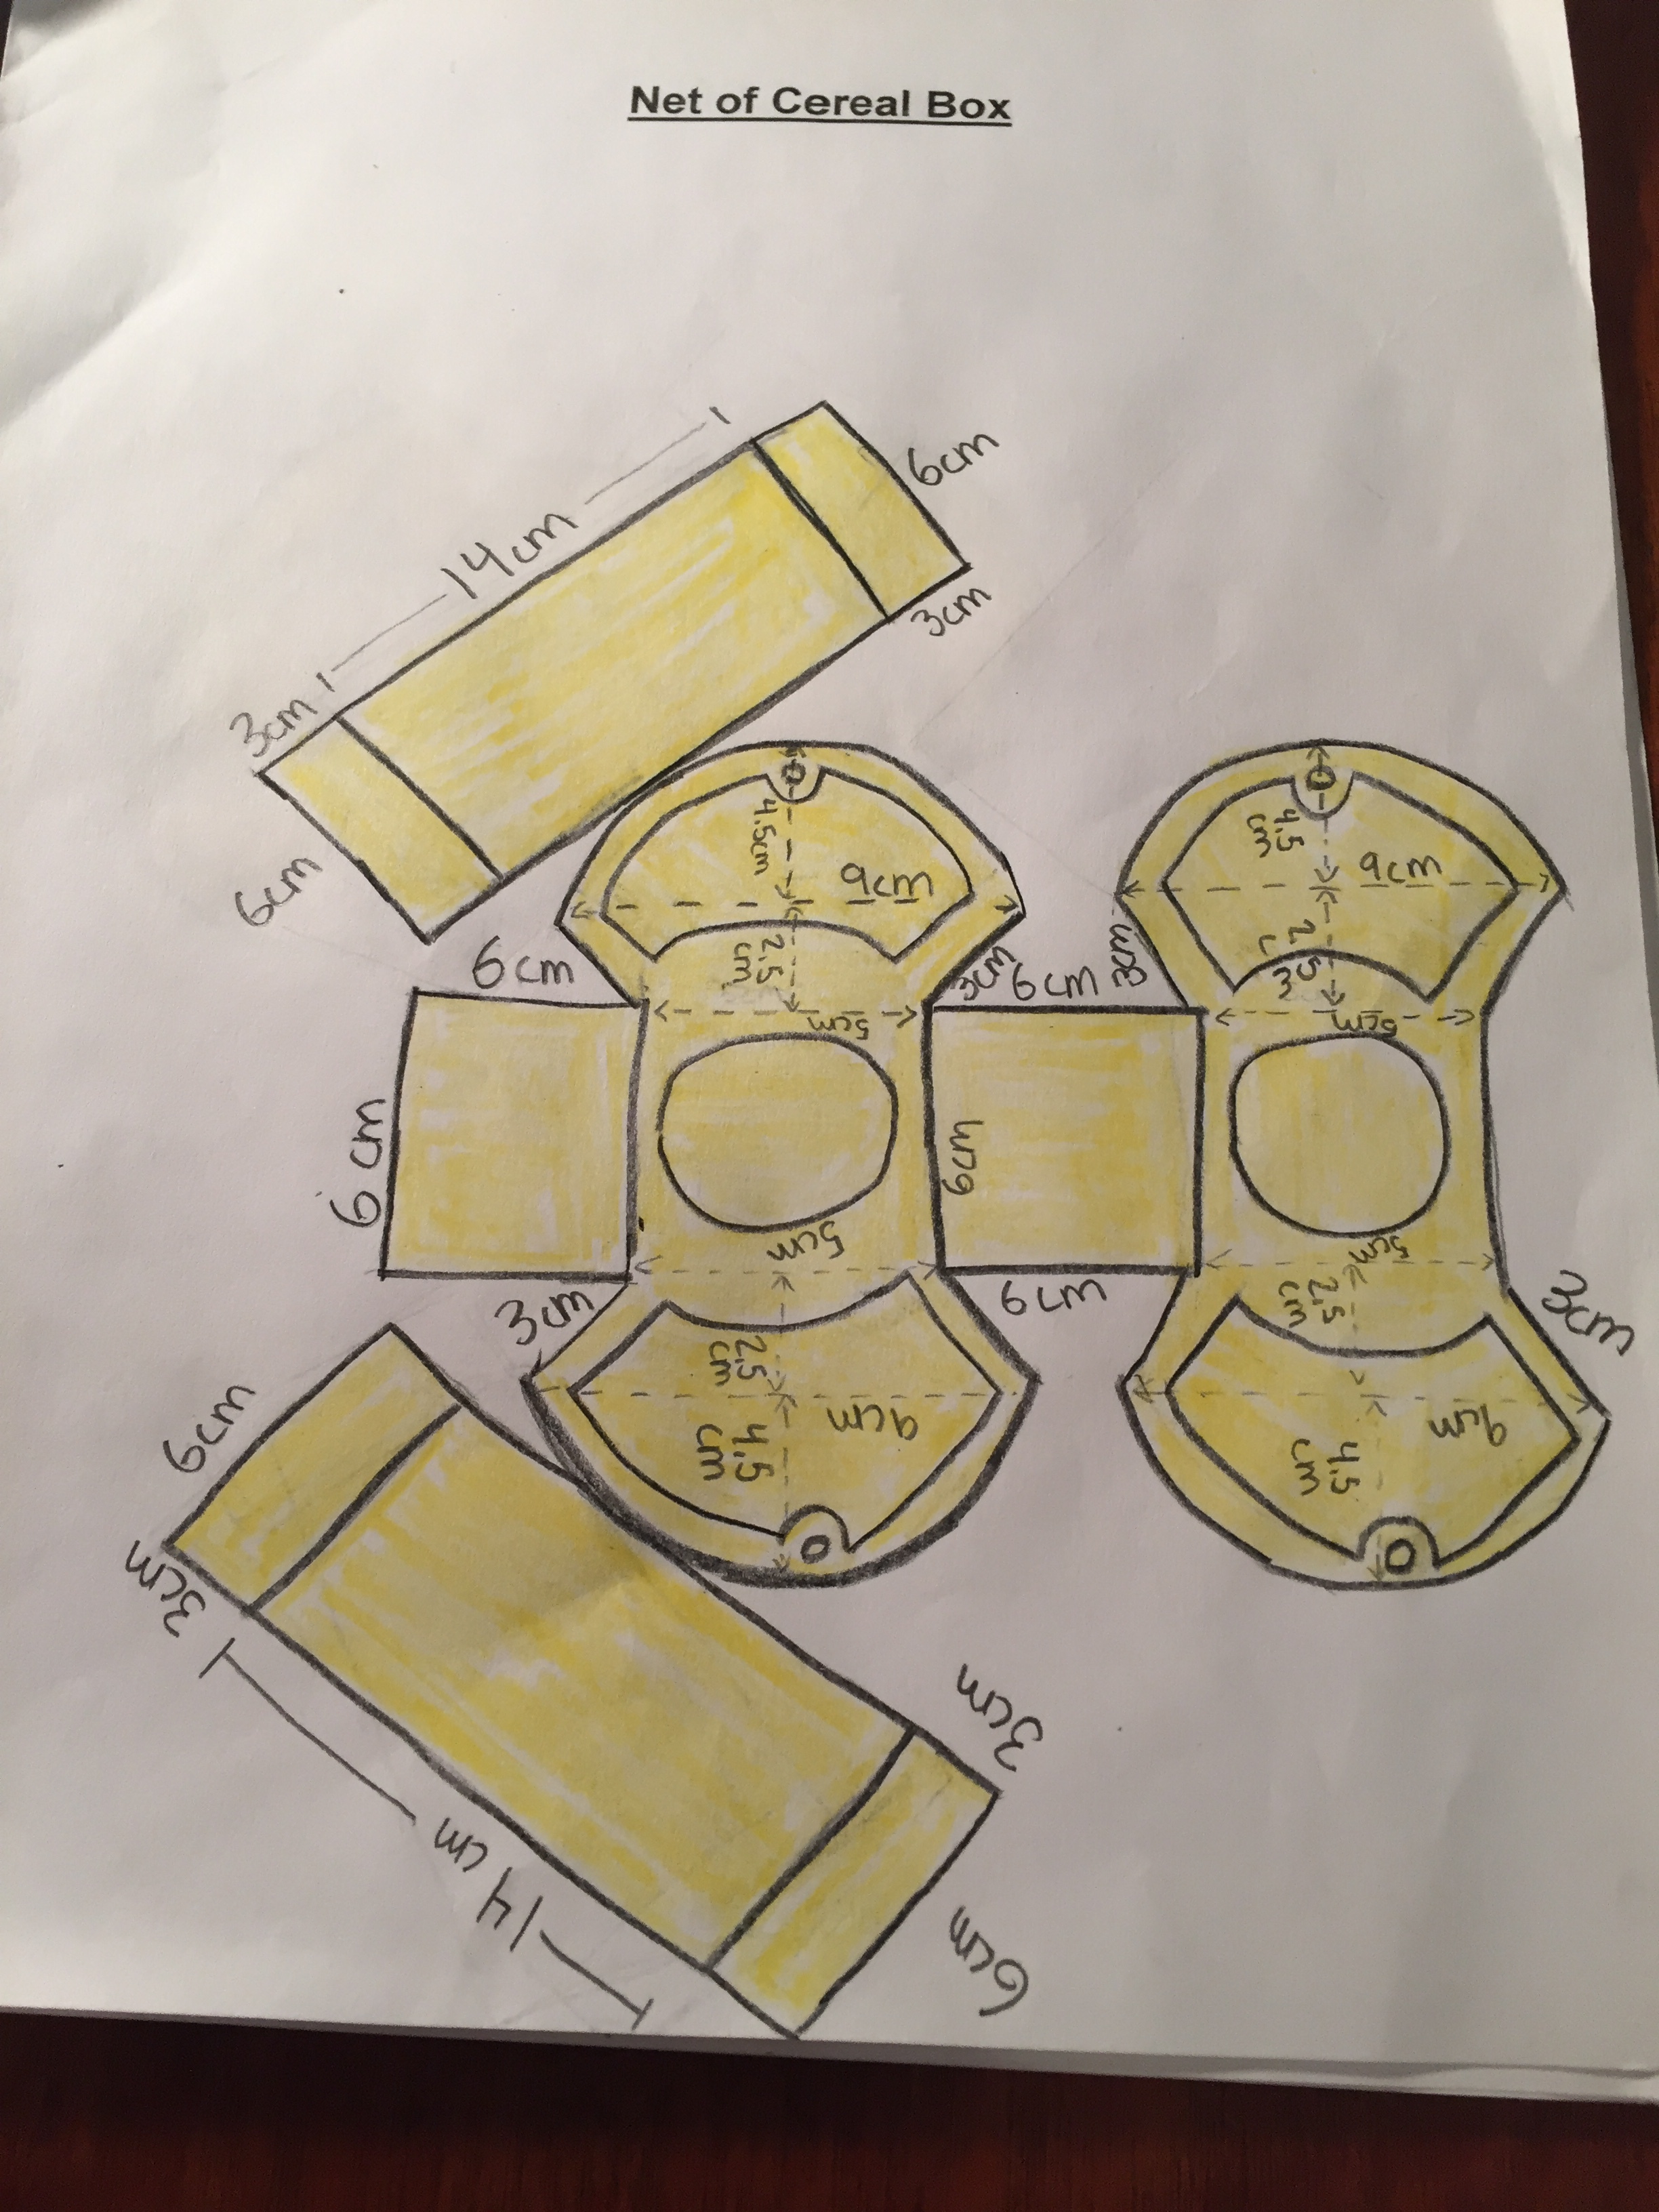
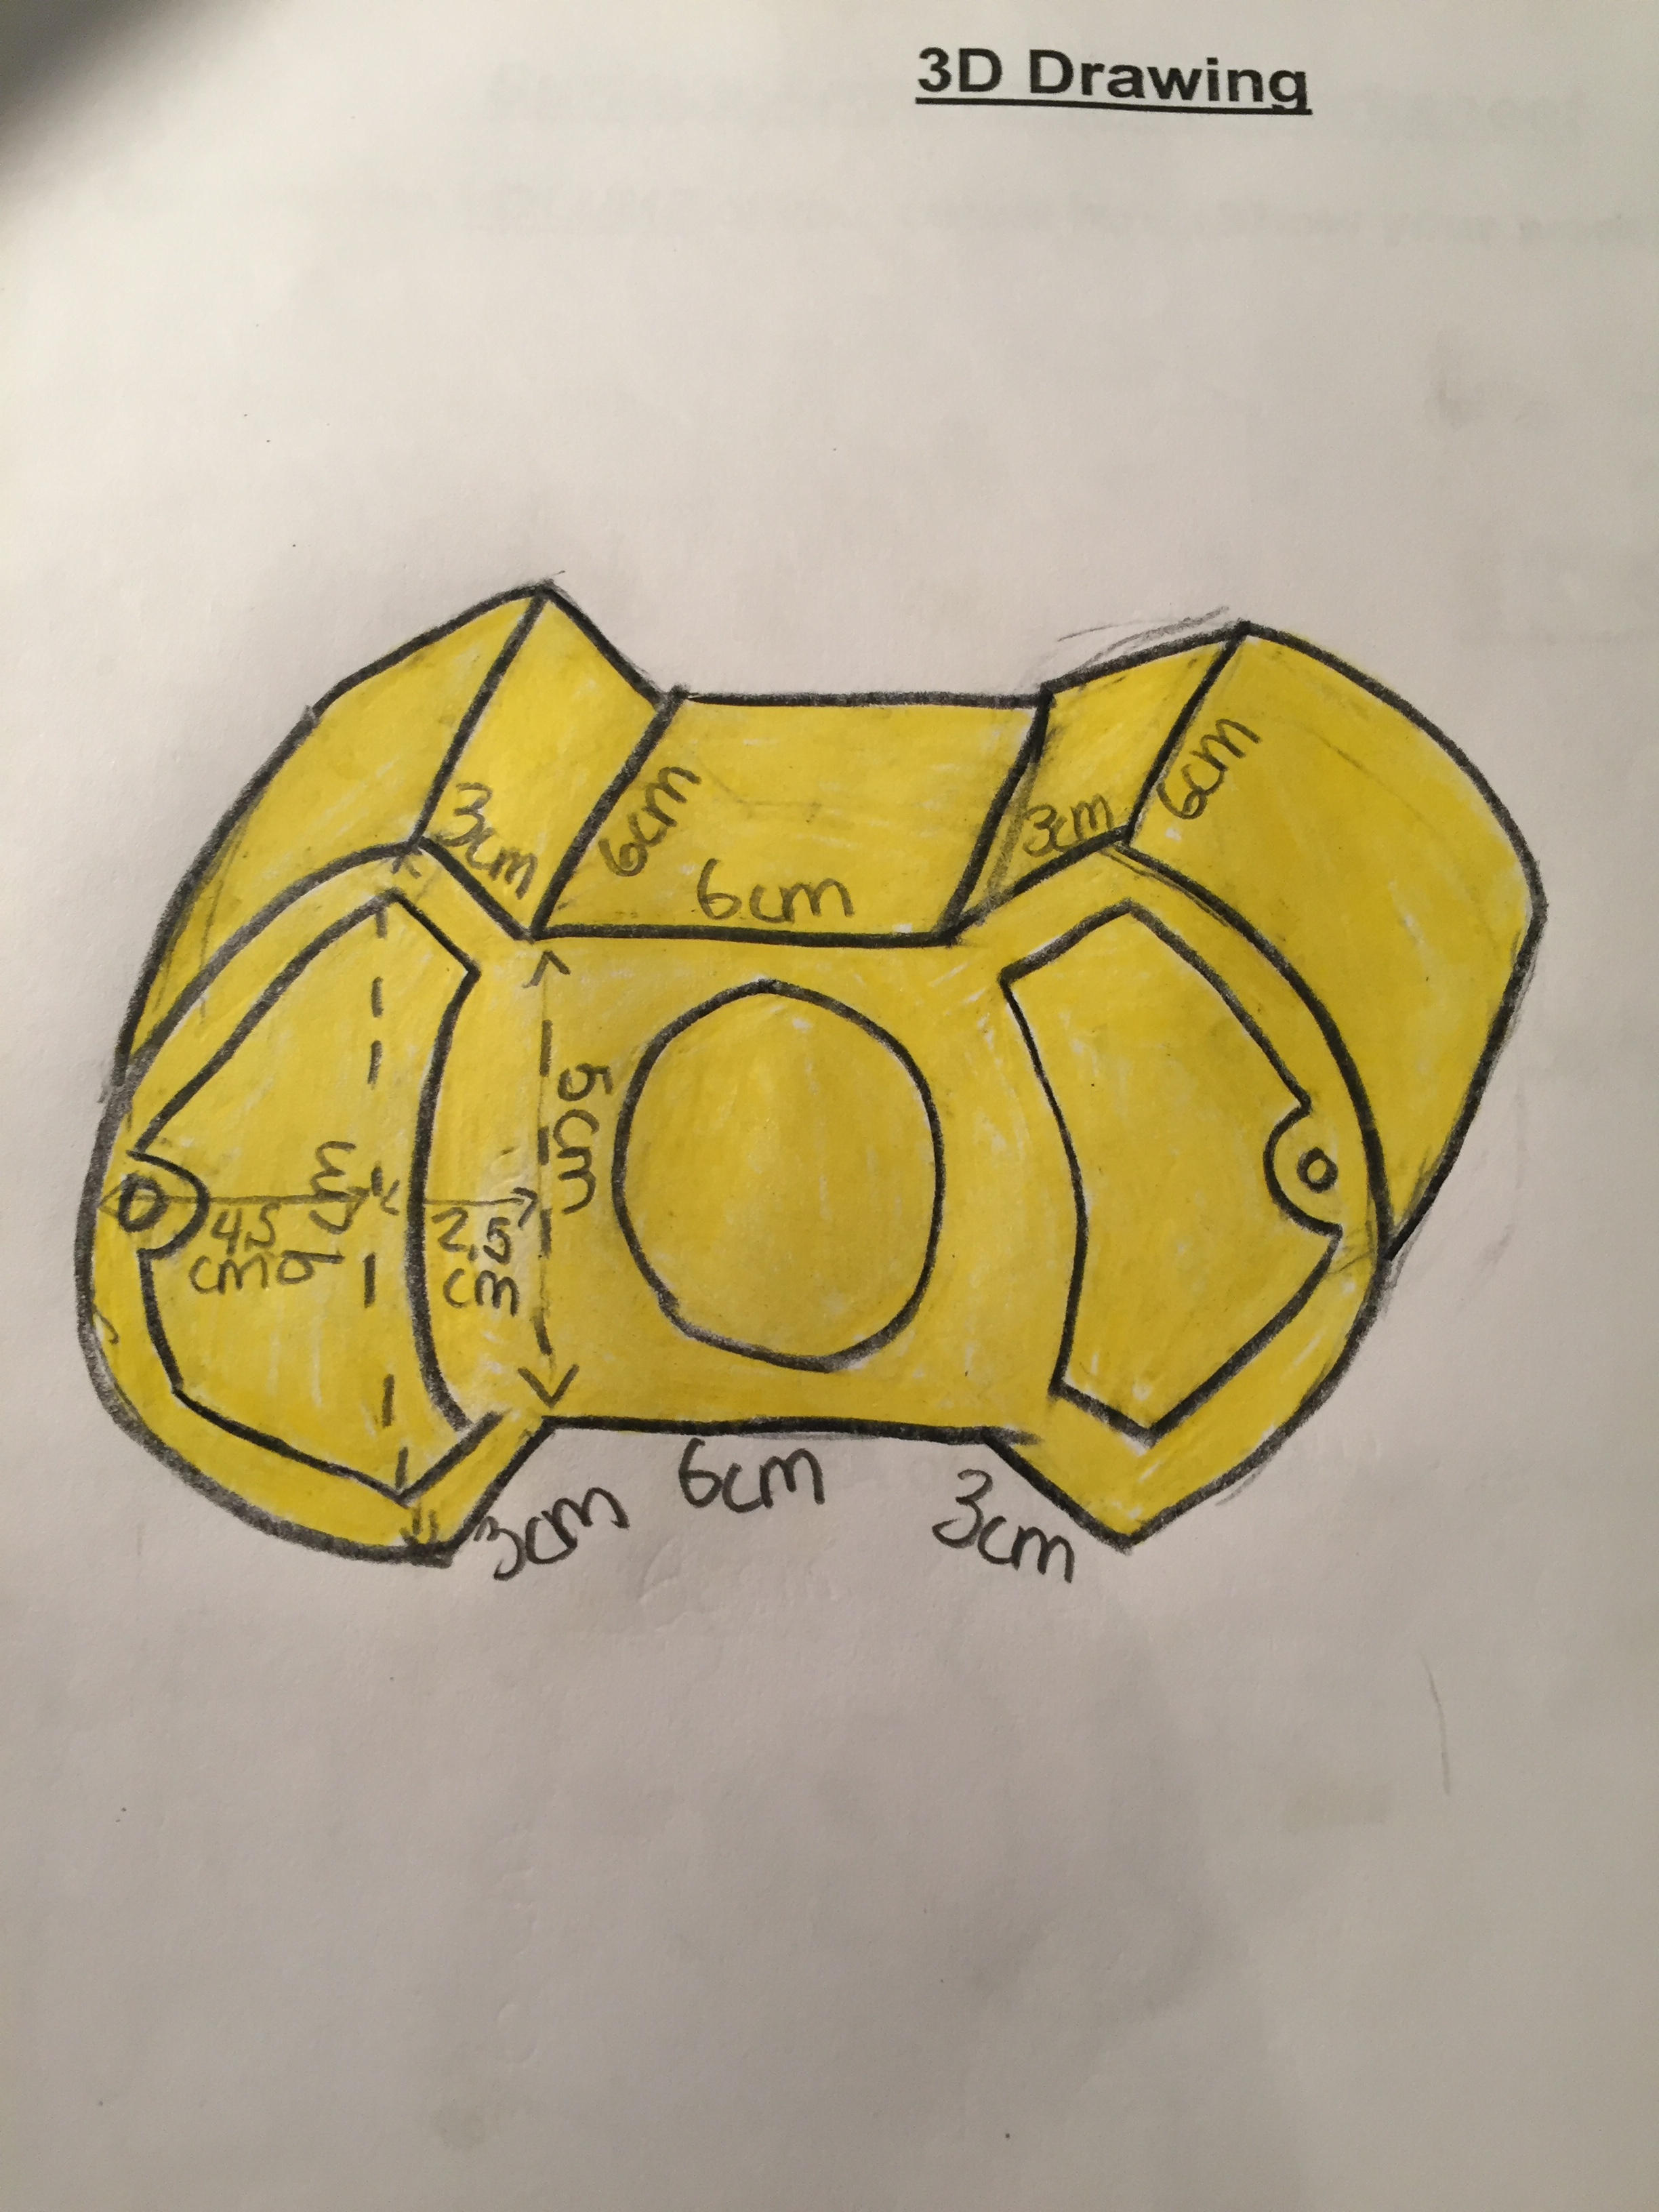
Step 8 - Complete the required paperwork
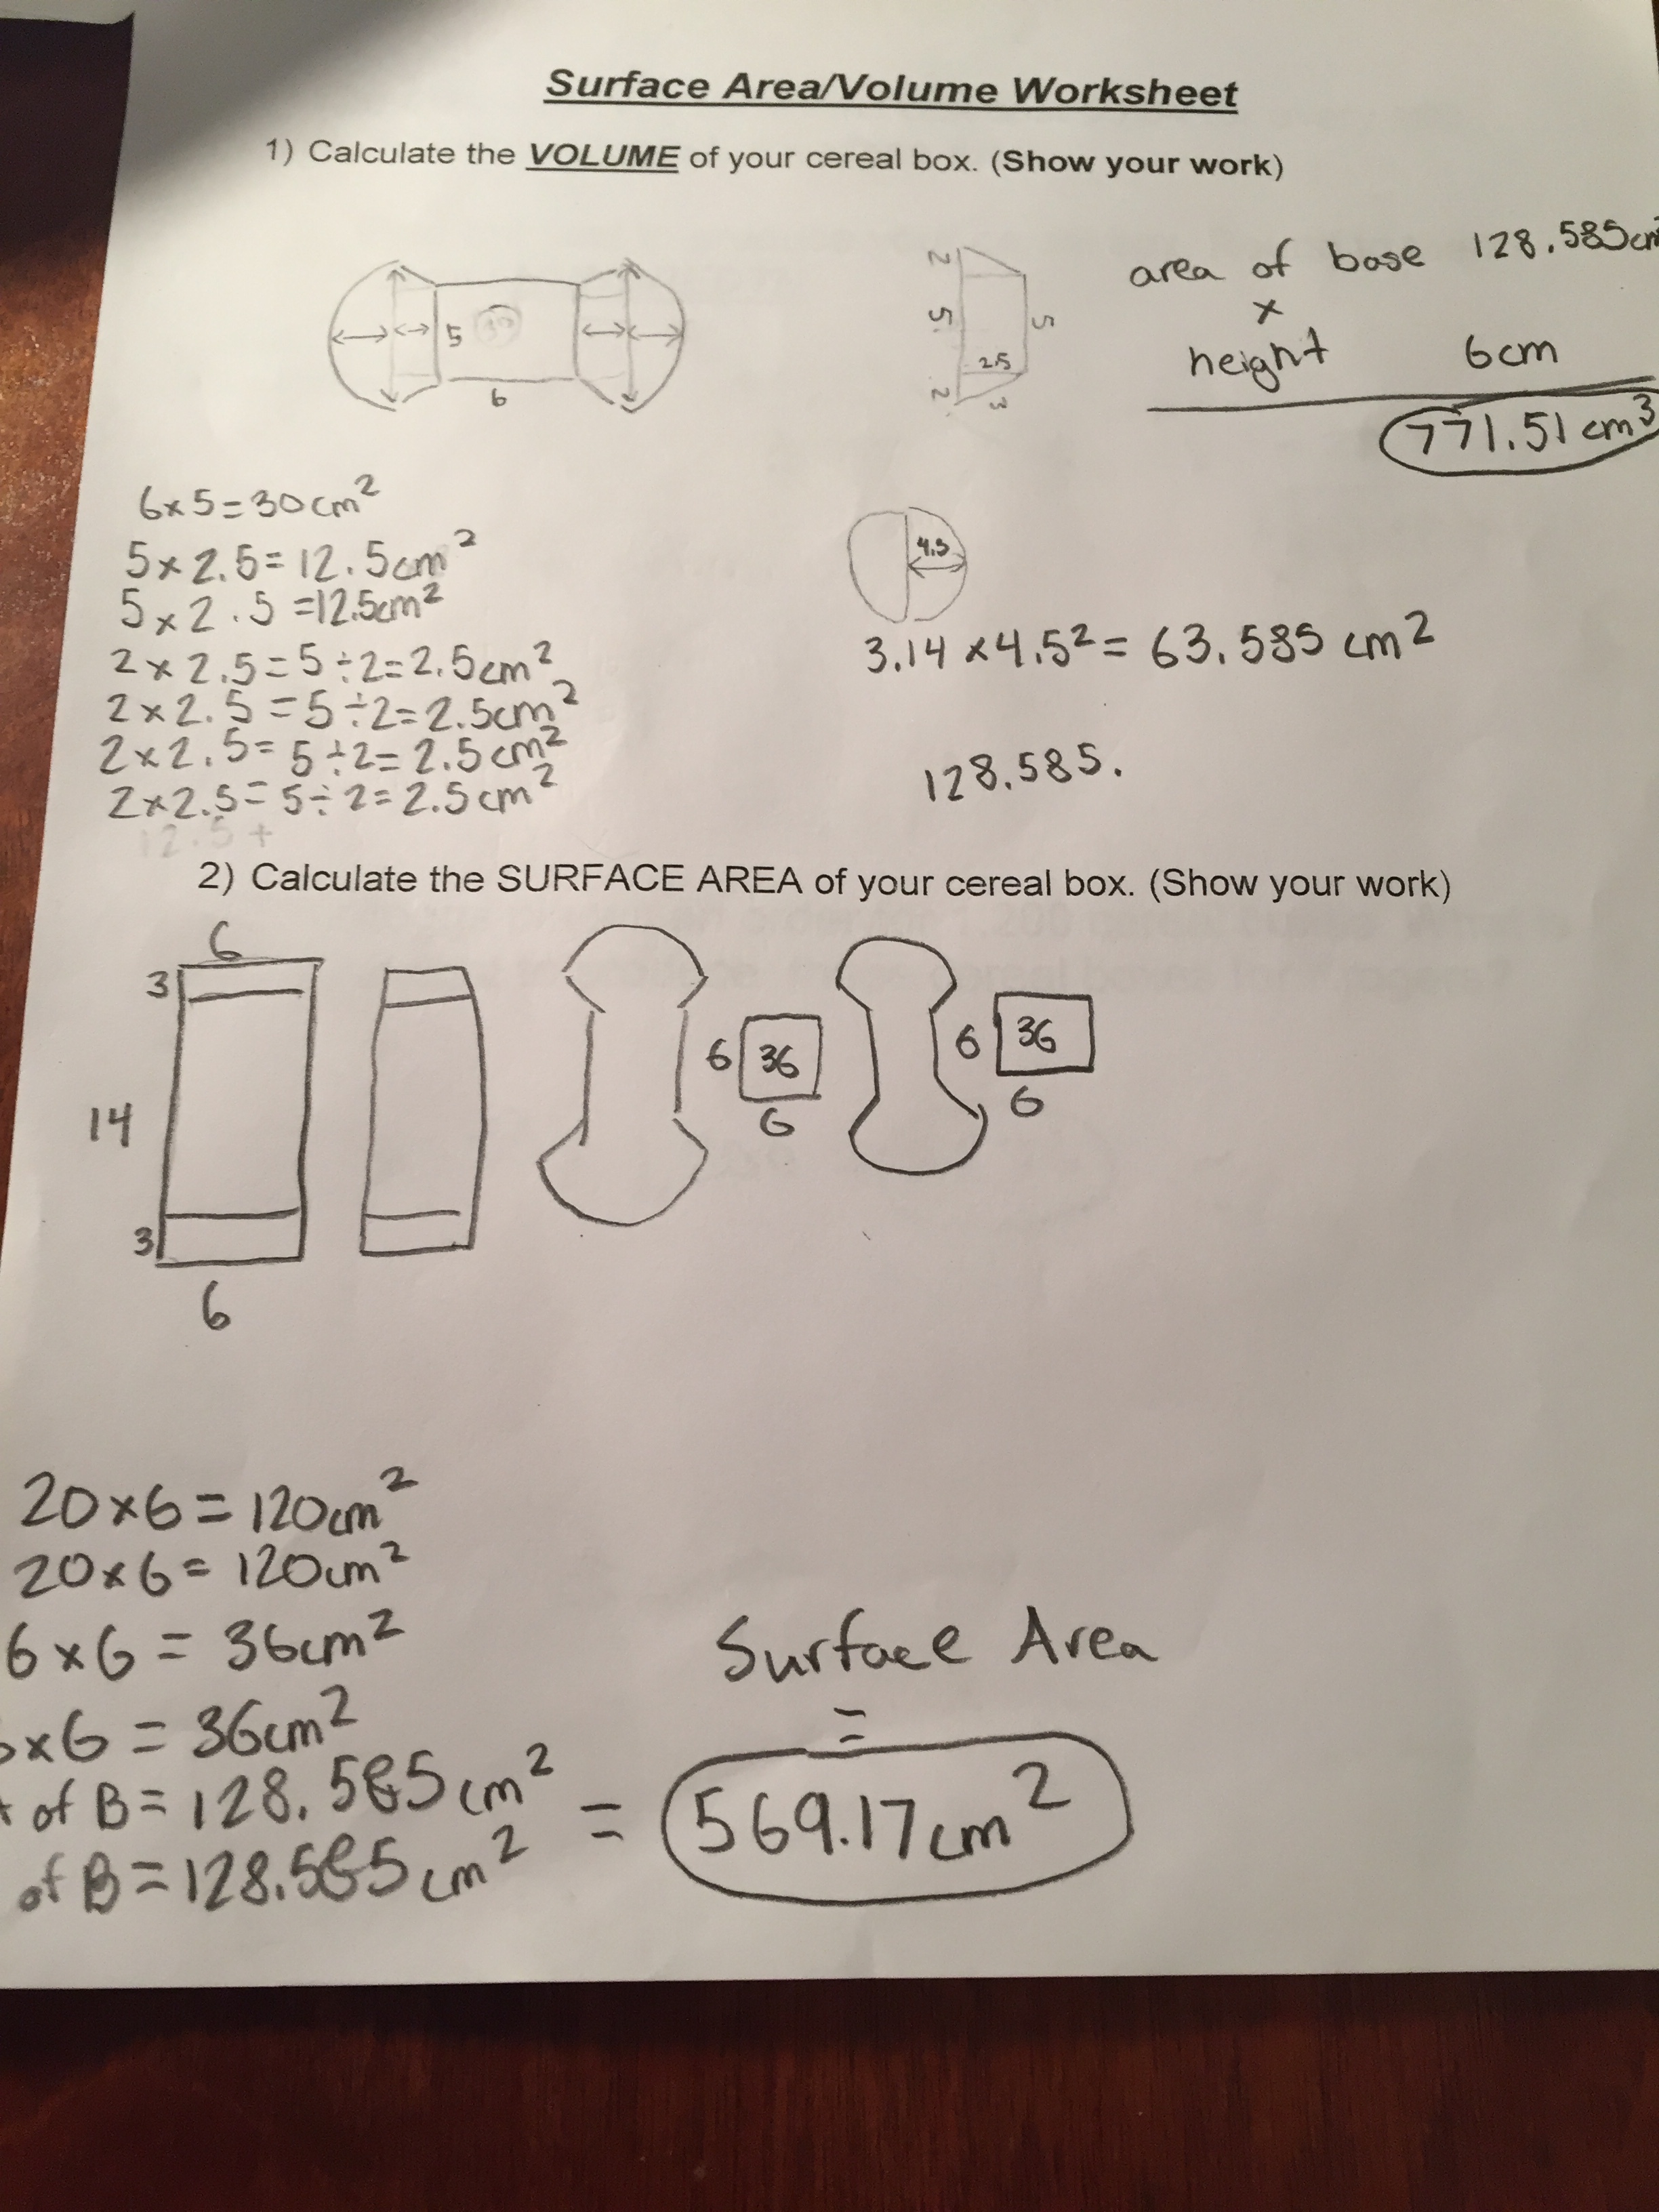
We usually have students calculate the surface area and volume of their projects. In addition we also have students draw (to scale) Nets and 3D designs of the project.
Lessons Learned from this years Cereal Box Projects
We had another successful year with our cereal box project. Many of the projects were creative and well done. Most of the students were fully engaged in the project. But we did have a couple areas that I need to clean up before next year.
The Curse of the Circle
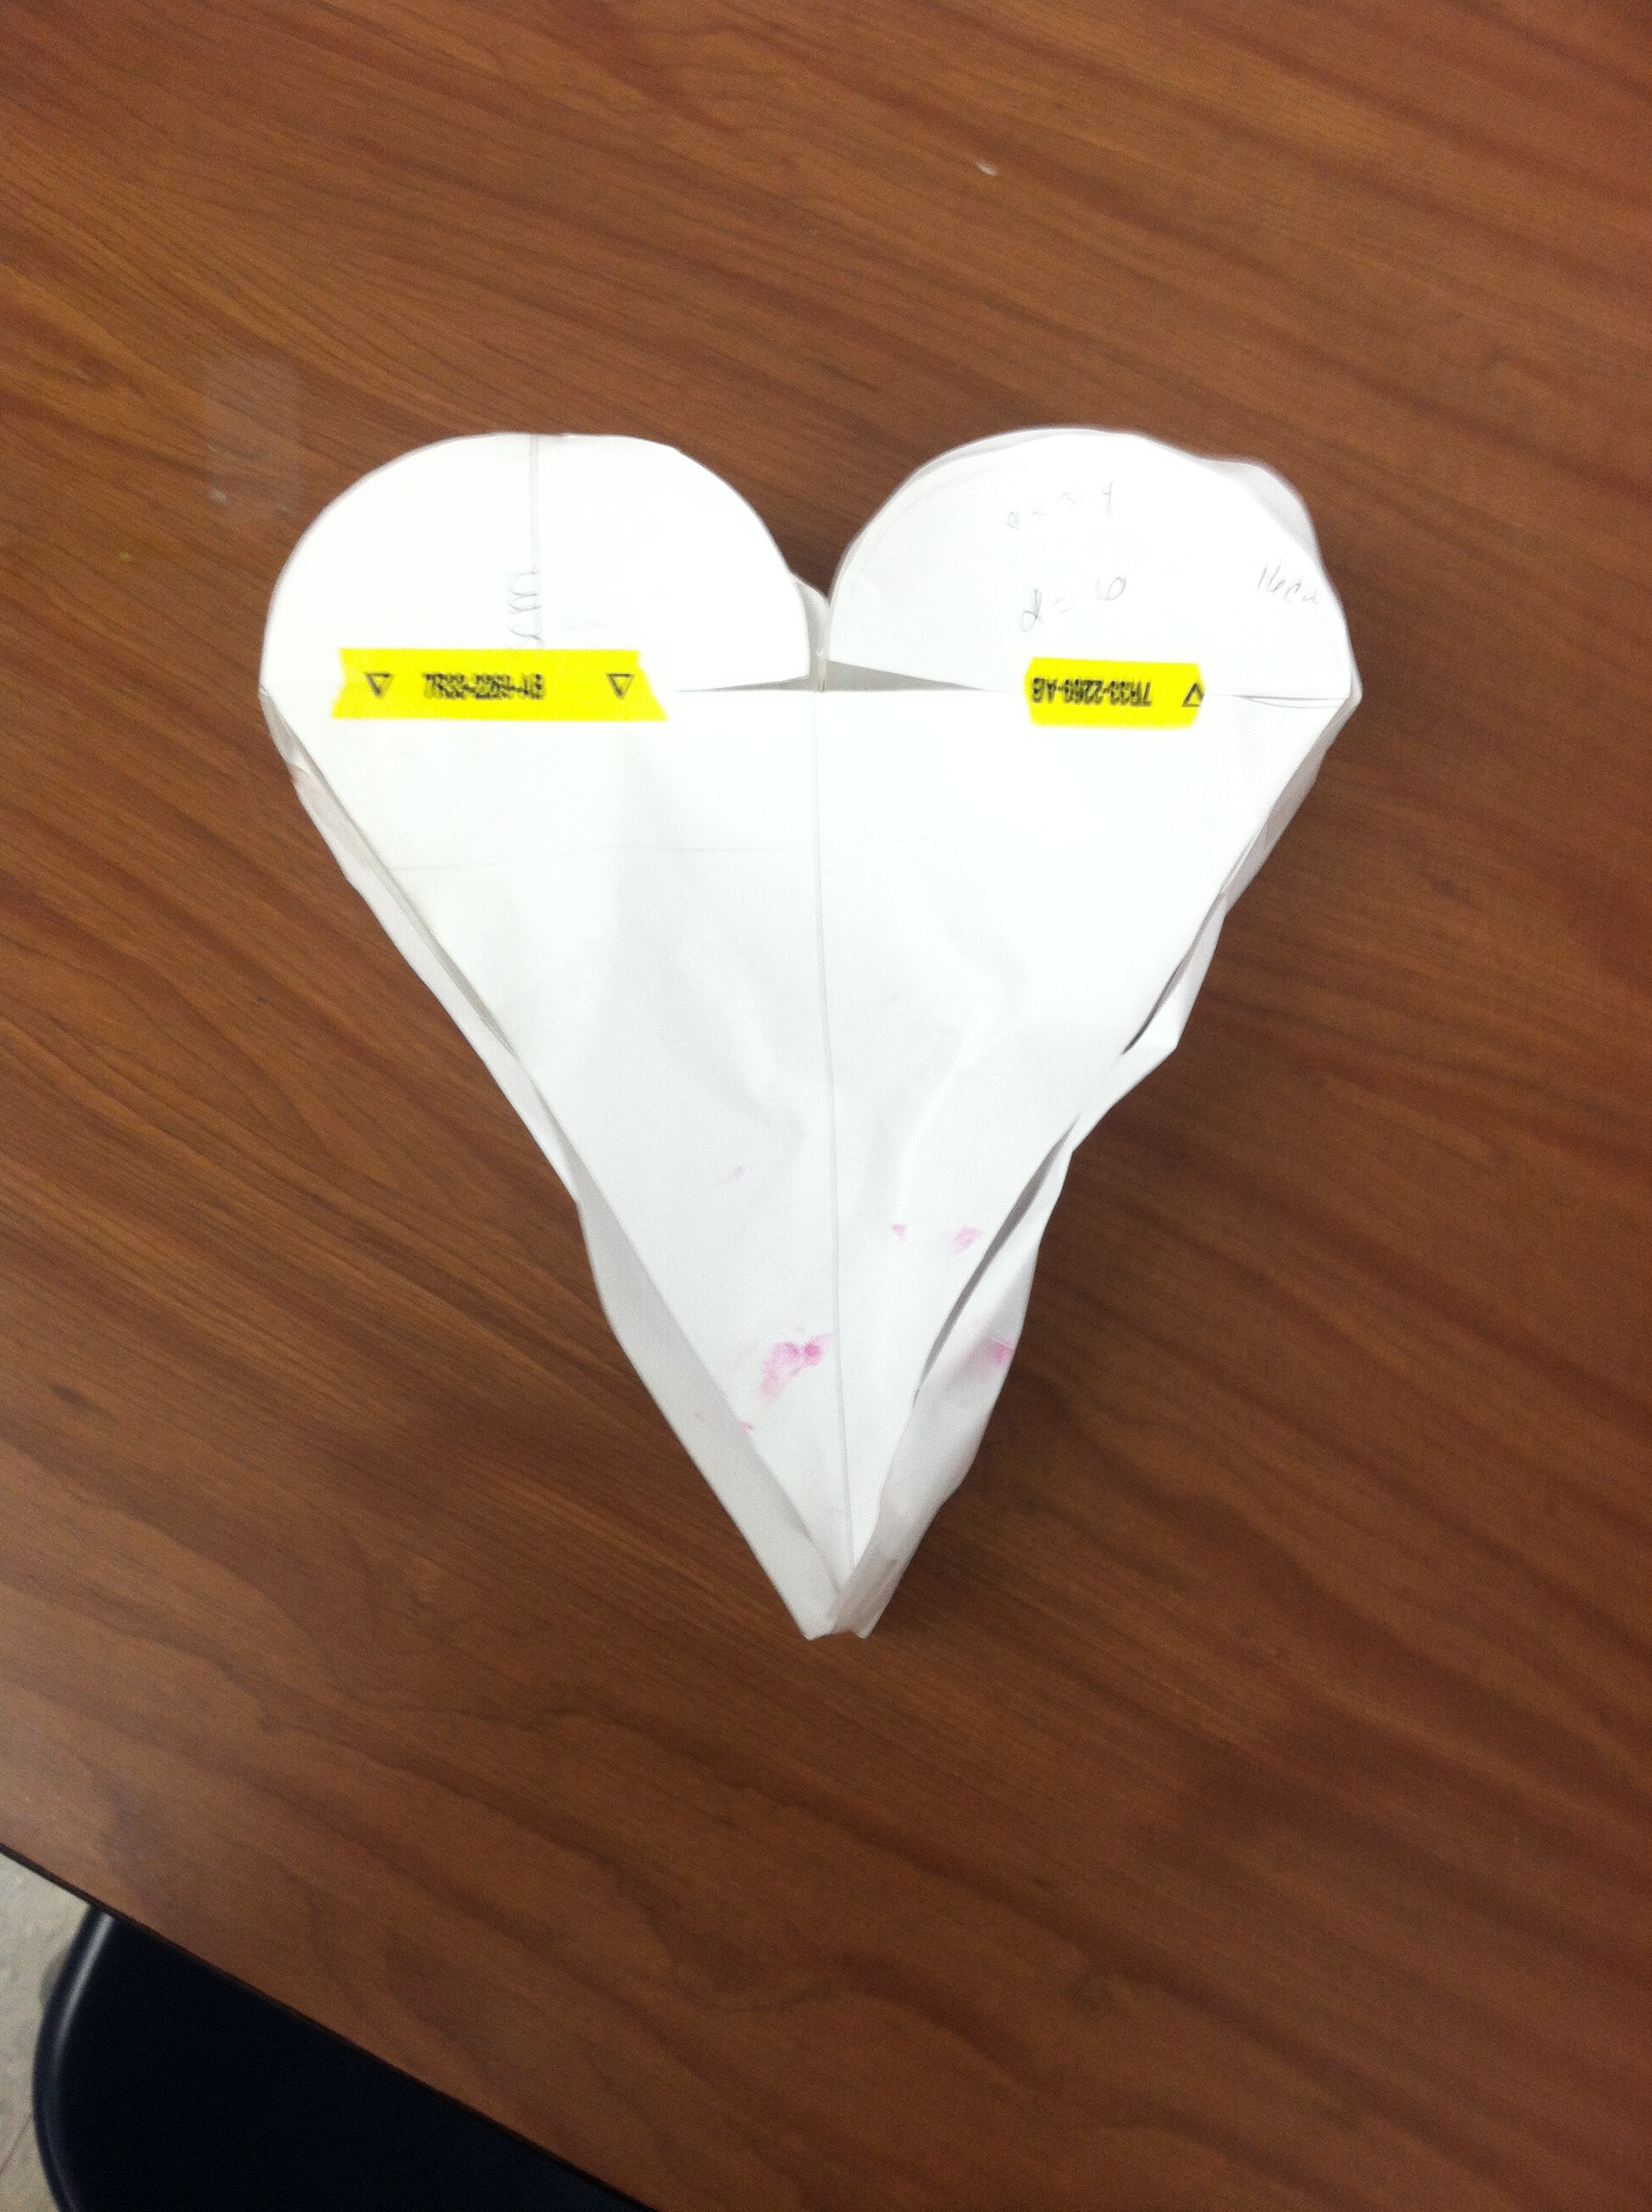
We had a few students this year build cereal boxes that were either cylinders or had a circle as part of the design. In both of these cases many students just randomly made a circle and just wrapped a long stretch of paper around the circle. There was no thought given to diameter, radius, or circumference. Needless to say, this made for a mess when it came time to make the cereal box the same as its prototype and with calculating surface area and volume.
Struggles with Scissors and Straight lines
Normally I will take a day (or two) to show the students a few tips/tricks when making and cutting out the sides of their project. Because of a time crunch this year, I thought I could save a little time and just give a brief talk and turn them lose. In the end this just created a lot more work for me and made it harder to help out as many students.

Interested in giving the Cereal Box Project a try?
This book will give you an in depth guide to how I use this project in my class.